

That perfect lip shade you’re searching for? It probably doesn’t exist in a single tube.
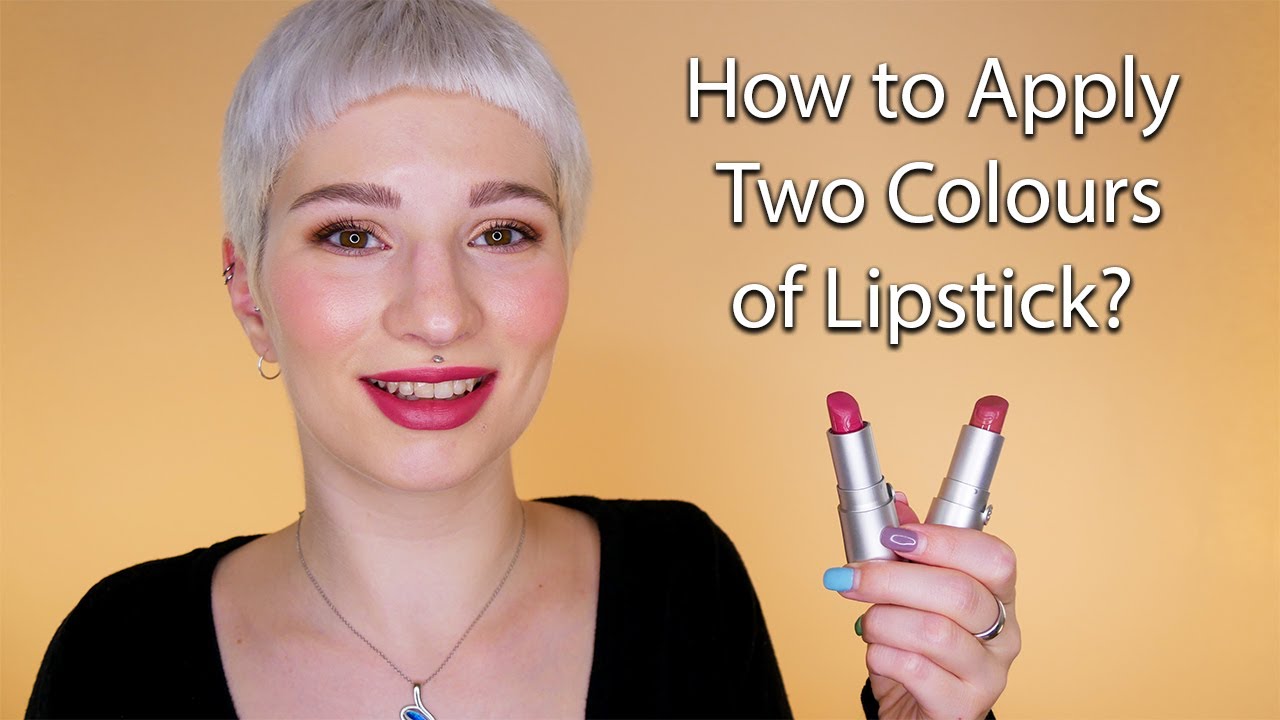
Learning how to blend lipstick lets you create custom colors from products you already own.
Two shades. One brush. A few minutes of practice.
Suddenly you’re not limited to whatever the beauty industry decided to release this season.
This technique works for subtle gradient effects, bold color mixing, and everything between.
You’ll learn the exact steps professional makeup artists use: lip prep, shade selection, strategic placement, proper blending motions, and setting methods that lock your custom color in place for hours.
No wasted products. No compromising on color.
How to Blend Lipstick
Blending lipstick is the process of combining two or more lip colors to create a custom shade or gradient effect on your lips.
You need this technique when your lipstick collection lacks the exact color you want, when you’re creating an ombre lip look, or when you want to soften a shade that’s too bold on its own.
This guide covers 5 steps requiring 5-10 minutes and basic lipstick application skills.
Prerequisites
Gather these tools before starting:
- Lip brush (flat or tapered tip)
- Two or more lipstick shades (cream, satin, or matte finish)
- Lip liner matching your natural lip color or darkest shade
- Lip scrub or exfoliant
- Lip balm or primer
- Mixing palette or back of hand
- Cotton swabs for corrections
- Translucent powder (optional)
Time estimate: 5-10 minutes.
Skill level: Beginner-friendly.
Step One: How Do You Prepare Your Lips for Blending?

Lip prep involves removing dead skin through gentle exfoliation, then hydrating with balm to create a smooth canvas that allows pigments to glide evenly and blend without catching on dry patches.
Action
- Exfoliation method: Apply lip scrub in small circular motions for 30 seconds, focusing on any flaky areas
- Hydration step: Pat on lip balm, wait 2-3 minutes for absorption, then blot excess with tissue
- Expected result: Soft, smooth lip surface with no visible flaking or dryness
Purpose
Skipping lip exfoliation causes color to settle unevenly into cracks and lines.
A proper lip care routine before application prevents patchiness and improves how long your blended color lasts.
Step Two: How Do You Choose Compatible Lipstick Shades?
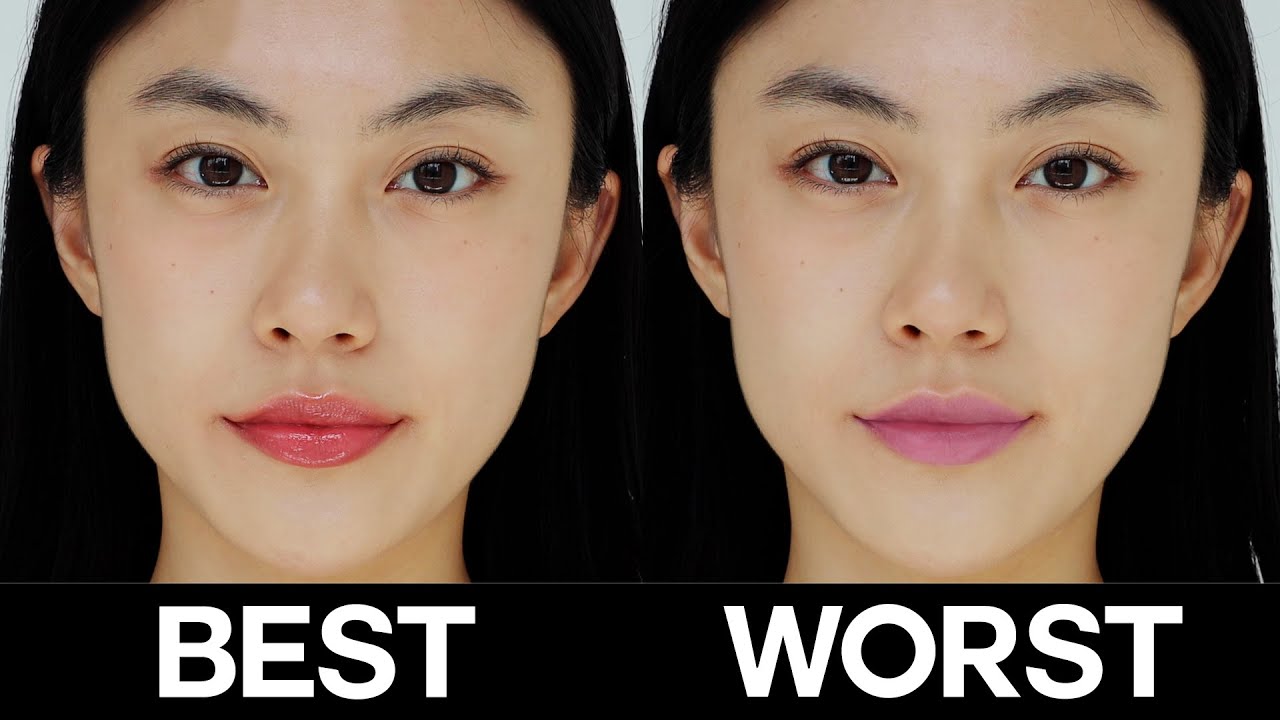
Select lipsticks within the same undertone family and similar texture formulas; warm shades blend with warm, cool with cool, and matching finishes like cream with cream prevent separation and muddy results on the lips.
Action
- Undertone matching: Pair warm lipstick colors (orange-based reds, corals) together or cool tones (berry, blue-based pinks) together
- Texture pairing: Match cream lipstick with cream, matte with matte formulas
- Expected result: Colors that transition smoothly without streaking or clashing
Purpose
Mixing warm and cool undertones creates muddy, unflattering results.
Combining matte lipstick with glossy formulas causes texture separation.
Thoughtful lipstick color selection is the foundation of a seamless blend.
Step Three: How Do You Apply the Base Shade?
Start with your lighter lipstick shade as the foundation layer, applying it evenly across the entire lip surface using a lip brush to control coverage and create clean edges around the vermillion border.
Action
- Application area: Cover the full lip surface from center outward using a flat lip brush
- Coverage level: Apply a thin, even layer; avoid heavy buildup that makes blending difficult
- Expected result: Uniform base color with defined edges along the cupid’s bow and lip line
Purpose
The lighter shade establishes your gradient foundation.
Starting with the darker color first makes it harder to blend a smooth transition.
Using a brush instead of applying directly from the bullet gives you more control over pigment placement and intensity.
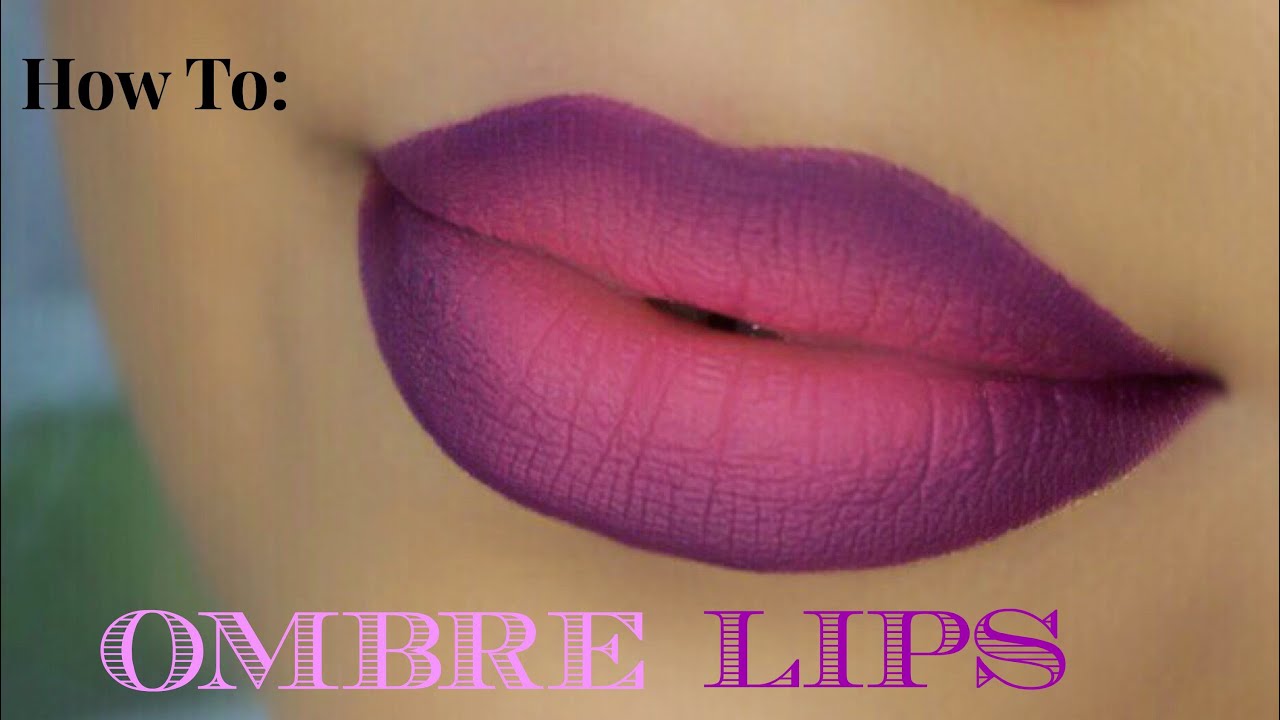
Step Four: Where Do You Place the Second Shade?
Apply your darker or accent lipstick strategically to the outer corners and along the lip line perimeter, leaving the center lighter; this placement creates depth and the gradient lip effect that makes blended lips look dimensional.
Action
- Placement zone: Dab the second shade onto outer corners of both lips and along the edge of your lip line
- Application method: Use a lip brush with tapping motions; avoid dragging which disturbs the base layer
- Expected result: Darker frame around the perimeter with lighter center still visible
Purpose
Strategic color placement is what separates a professional two-toned lip look from a messy one.
Placing darker pigment at the edges mimics natural lip shadowing and creates the illusion of fuller lips.
Step Five: How Do You Blend the Two Colors Together?
Use a clean lip brush or your fingertip to blur the line where both colors meet, working in small circular or tapping motions until the color transition appears seamless with no harsh edges visible.
Action
- Blending tool: Clean lip brush (preferred) or ring fingertip for softer diffusion
- Motion technique: Small circular movements or gentle tapping at the color meeting point only
- Expected result: Smooth gradient with no visible line between the two shades
Purpose
Proper blending technique prevents streaking and patchiness.
Over-blending muddies both colors together; under-blending leaves harsh lines.
Work only at the transition zone, not across the entire lip.
Step Six: How Do You Set the Blended Lipstick?
Lock in your custom lip color by blotting once with tissue and optionally dusting translucent powder through a single-ply tissue layer; this setting technique extends wear time to 4-6 hours without disturbing the blend.
Action
- Blotting method: Press a tissue against lips once; don’t rub or wipe
- Powder application: Hold single-ply tissue over lips, dust translucent powder lightly through it
- Expected result: Long-lasting lip color that won’t smudge or transfer easily
Purpose
Setting prevents color bleeding and extends wear.
The tissue barrier keeps powder from making lips look chalky while still making your lipstick transfer-proof.
Verification
Check your blend is complete:
- Mirror test: View lips from multiple angles under good lighting; look for any harsh lines or unblended patches
- Lip press test: Press lips together gently; colors should stay in place without shifting
- Edge inspection: Verify color hasn’t bled outside the lip line; clean any mistakes with a cotton swab dipped in makeup remover
A successful blend shows smooth gradation from outer edges to center with no visible demarcation line.
Troubleshooting
Issue: Colors Appear Patchy or Streaky
Solution: Your lips weren’t prepped enough.
Remove the lipstick, exfoliate again, apply balm, and restart.
If you have chronically dry lips, use a hydrating primer before application.
Issue: Shades Separating on Lips
Solution: You mixed incompatible textures.
Different lipstick types don’t always play well together; stick to matching formulas like cream with cream.
Liquid lipstick and traditional bullet lipstick rarely blend smoothly.
Issue: Harsh Line Between Colors
Solution: More blending needed at the transition zone.
Use a clean brush to work in tiny circular motions where colors meet.
Add a thin layer of the lighter shade over the line and blend again.
Issue: Color Fading Unevenly
Solution: You skipped the setting step.
Blot, apply powder through tissue, then add one more thin layer of color and blot again for maximum staying power.
Alternative Methods
Palette Mixing Method
Pre-mix your shades on the back of your hand or a palette before application.
- Process: Swipe both colors onto palette, blend with brush until uniform, then apply the custom shade to lips
- Time: 5 minutes
- Best for: Creating a completely new single shade rather than a gradient
Layering Method
Apply one full layer, let it set completely, then apply the second shade on top.
- Process: First color dries 2-3 minutes, second color applied over strategic areas, minimal blending
- Time: 7 minutes
- Best for: More dramatic contrast between colors; works well for dark lipstick looks
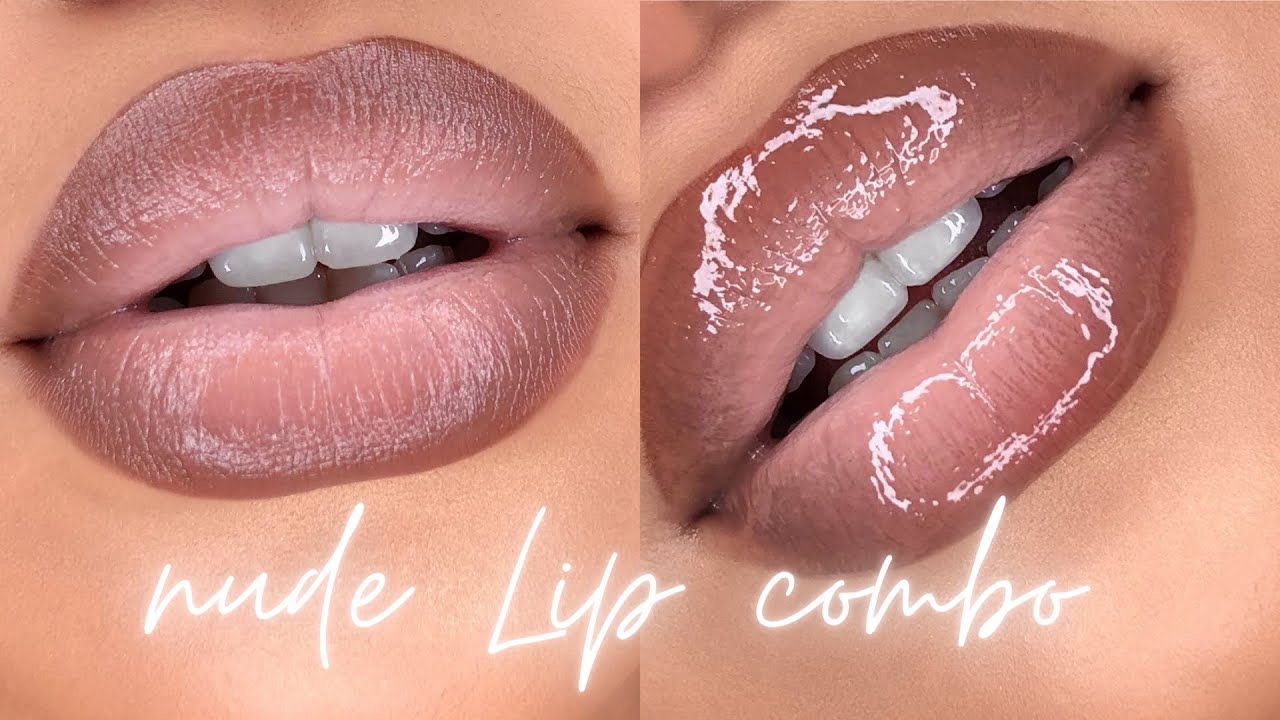
Gloss Finishing Method
Blend matte shades, then add lip gloss over the lipstick for a dimensional finish.
- Process: Complete standard blending steps, dab clear or tinted lip gloss at center of bottom lip
- Time: 6 minutes
- Best for: Adding shine and making lips appear fuller
Related Techniques
Build on your blending skills with these complementary tutorials:
- Applying lip liner for defined edges that prevent color bleeding
- Stopping lipstick from feathering into fine lines around the mouth
- Applying lipstick on thin lips to create fullness with color placement
- Wearing bright lipstick with confidence once you’ve mastered blending
- Applying lipstick on dry lips for those with chronic lip dryness
FAQ on How To Blend Lipstick
What is the best tool for blending lipstick?
A flat or tapered lip brush gives the most control for blending two lipstick shades together. Your fingertip works as a backup option for softer diffusion. Avoid using the lipstick bullet directly when blending multiple colors.
Can you blend matte and glossy lipsticks together?
Mixing matte and glossy lipstick formulas directly causes texture separation and patchiness. Stick to matching finishes for the smoothest results. You can add gloss on top after blending two matte shades if you want shine.
How do you keep blended lipstick from looking muddy?
Choose shades within the same undertone family. Warm colors blend with warm; cool with cool. Mixing opposing undertones creates muddy, unflattering results. Also avoid over-blending, which combines colors too much and loses the gradient effect.
What lipstick finishes blend easiest?
Satin and cream formulas blend most smoothly because they have slip and stay workable longer. Matte lipsticks dry faster, requiring quicker blending. Liquid formulas set too quickly for easy color mixing.
Should you use lip liner when blending lipstick?
Yes. Choosing the right lip liner creates a barrier that prevents color bleeding outside your lip line. Use a shade matching your darkest lipstick or your natural lip color. It also helps define the edges of your gradient.
How long does blended lipstick last?
Properly set blended lipstick lasts 4-6 hours. Blot with tissue, dust translucent powder through a single-ply tissue layer, then apply one more thin color layer. This method significantly extends wear time without disturbing your custom blend.
Can you blend lipstick to create a nude shade?
Absolutely. Mix a nude lipstick with pink or brown tones to customize the perfect neutral for your skin tone. Adding a touch of concealer to any lipstick also creates a custom nude, though it reduces longevity.
What is the difference between blending and layering lipstick?
Blending mixes two colors together at the transition point for a seamless gradient. Layering applies one shade over another without blending, creating more distinct color separation. Both techniques create two-toned lip looks with different effects.
How do you fix a blended lipstick that went wrong?
Use a cotton swab with makeup remover to clean mistakes along the lip line. For patchy blending, add more of your lighter shade to problem areas and re-blend gently. Severe mistakes require full removal and starting fresh.
Can you pre-mix lipsticks to save for later?
Yes. Scrape small amounts of each lipstick into an empty container, melt with gentle heat, stir to combine, then let solidify. This creates a permanent custom lip color you can use repeatedly without re-blending each application.
Conclusion
Mastering how to blend lipstick transforms a limited makeup collection into endless possibilities.
You now have the lip brush technique, color theory basics, and setting methods to create any custom shade you want.
Start simple. Two similar shades. One seamless blend.
Build confidence before attempting dramatic contrasts or complex fall lipstick colors mixed with summer brights.
The beauty of lipstick layering is experimentation without commitment.
Hate the result? Wipe it off and try again.
Your next signature lip color might be sitting in your drawer right now, waiting to be combined with something unexpected.
Grab two shades, a brush, and see what happens.

She started writing on the site after fielding the same questions from clients and friends often enough to just write the answers down: which red won't turn orange on a warm undertone, how to keep lipstick from feathering into fine lines, why a "12-hour" formula rarely survives dinner.
Every review on the site follows the same rule she uses with paying clients: wear it first, then decide if it's worth recommending.
- How Long Does Eyeliner Last Before It Expires? - July 28, 2026
- What Is Contour and How Do You Apply It? - July 25, 2026
- Can Female Hair Loss Start Before Menopause, and What Are the Early Signs? - July 24, 2026


