Lipstick goes on first. Blot it, add a thin dab of gloss at the center of the lips, and press them together once.
Matte and fully dried liquid matte lipsticks take gloss best, and a clear gloss changes the finish while leaving the shade alone.
For a matte lipstick, Makeup.com by L’Oreal (2021) calls a gloss or oil topcoat the simplest route to high shine. Satin gets handled differently. The same source mixes equal parts colorless lip balm into the matte color.
How to Apply Lip Gloss Over Lipstick Step by Step
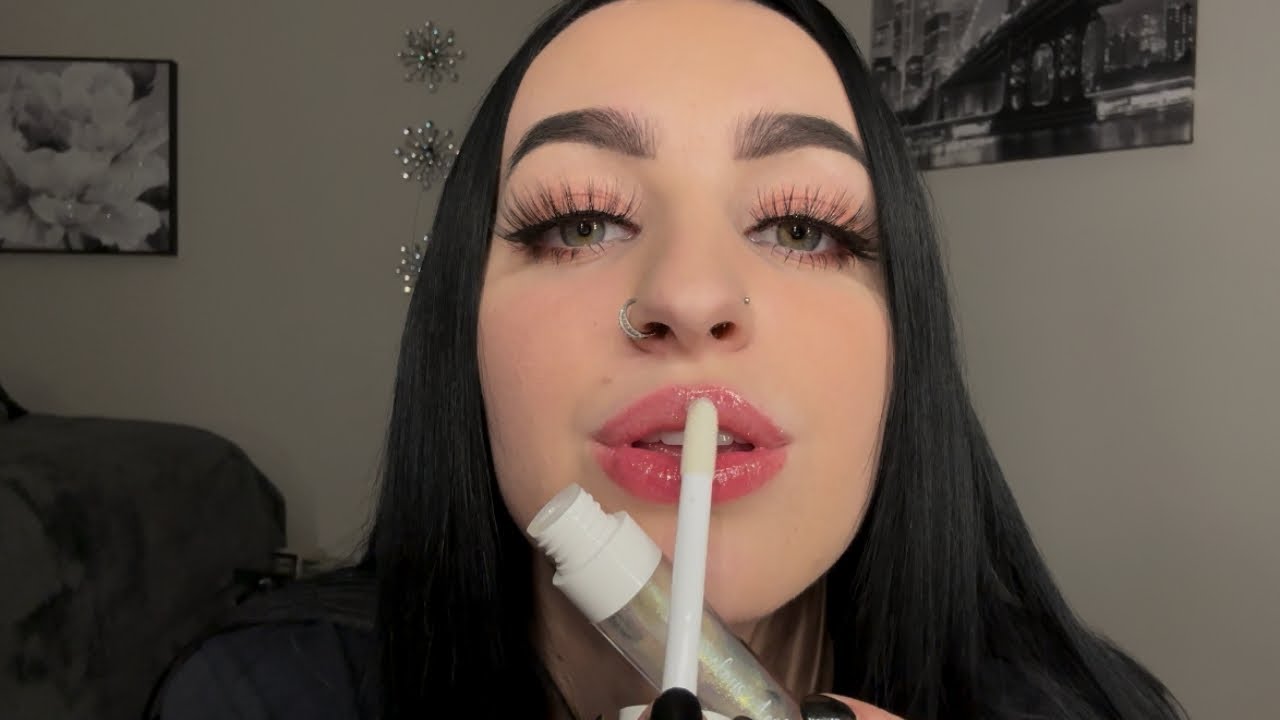
Lipstick first, gloss last, and keep the gloss thin.
Reverse the order and the lipstick drags and streaks, since gloss never fully dries and has to be the top layer.
- Exfoliate with a lip scrub and wipe away the residue.
- Apply a thin layer of lip balm, then blot off whatever has not absorbed.
- Line the lips with a pencil in the lipstick shade or your natural lip color, and fill in the whole lip as a base.
- Apply the lipstick. Add a second coat if the color looks weak.
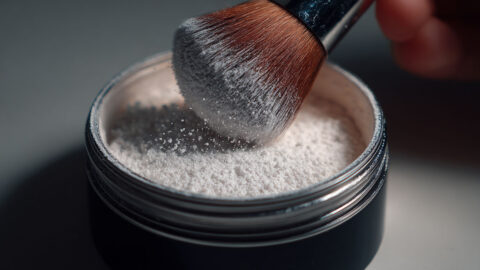
- Blot with a tissue. For extra hold, press translucent setting powder through the tissue.
- Dab gloss on the center of the lower lip, then the upper lip.
- Press the lips together once and check the corners for buildup.
Lips need more prep than the rest of the face, mostly because there is so little to them. A peer-reviewed review of lip aging in PubMed Central puts the lip vermilion at 3 to 5 cell layers, against roughly 16 in typical facial skin.
Flakes show up under gloss. If a store-bought scrub feels harsh, natural ways to exfoliate your lips are gentler.
Liner is optional for a quick look. Charlotte Tilbury’s guide says it defines the lip shape and can help lipstick last longer, and proper lip liner technique keeps that edge clean under gloss.
Most tutorials skip the powder. Mented’s tutorial recommends a touch of setting powder after lipstick and before gloss if you want the pair to last all day.
For a gradient, Makeup.com by L’Oreal starts with Urban Decay Vice Lipstick in Hitch Hike, a satin, and finishes with a dab of Lancome L’Absolu Gloss in 222 Beige Muse at the center of the lips.
Where Should Lip Gloss Go Over Lipstick?
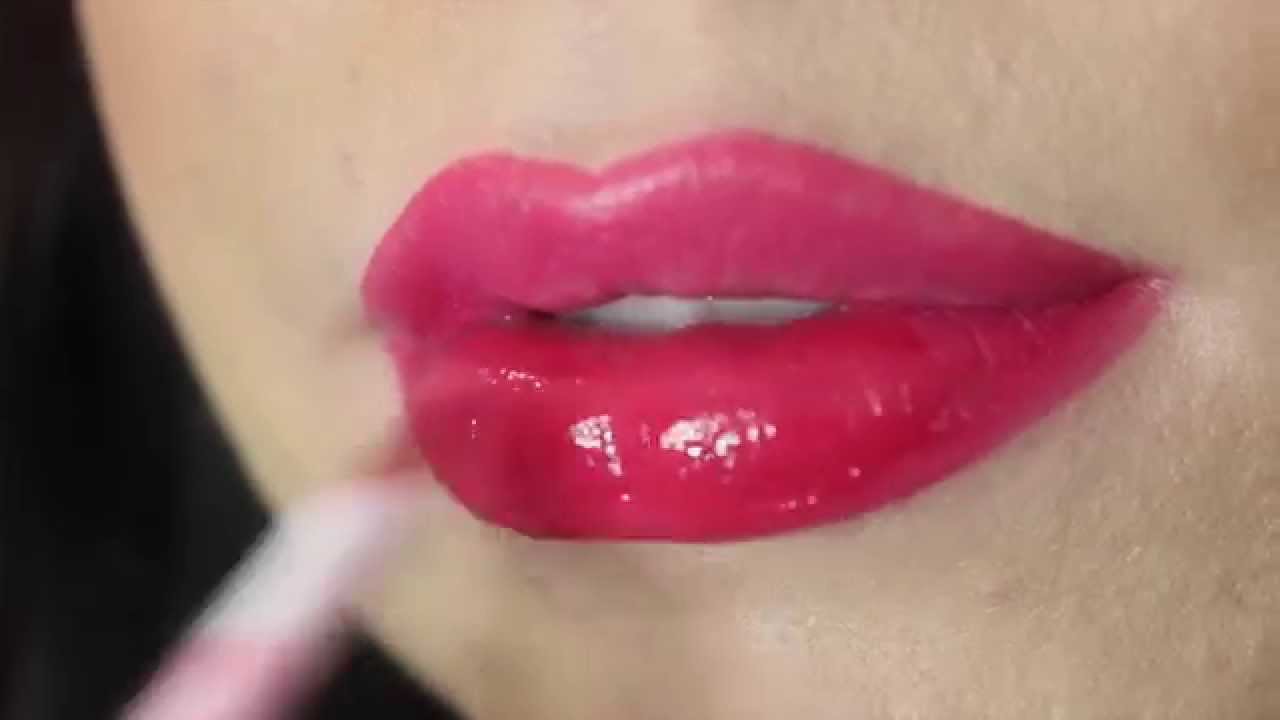
On the center of the lips, lower lip first, followed by a gentle press to spread it. Full coverage works too, but it pushes gloss toward the lip line where it feathers.
Center Dab and Full Coverage
A center dab keeps the edge clean and adds some dimension. The gloss spreads toward the edges by itself, which reduces smudging and extends wear (Makeup.com, 2021).
Full coverage gives a glass finish. It takes a steadier hand and leaves more product sitting near the lip line.
The corners of the mouth are worth avoiding. Net-a-Porter’s Beauty Memo advises keeping gloss off them, because it gathers there and feathers.
Sources don’t agree on blending. Glossybox says to gloss the lower lip and then rub the lips together. Makeup.com says to purse them and skip the rubbing, since rubbing can smear the lipstick.
A set matte can take a rub. A creamy formula probably can’t, so one gentle press is the safer default.
Bare-lip gloss follows looser rules (the general guide to applying lip gloss covers them). Over lipstick, every swipe moves pigment.
Wand, Brush or Fingertip
The wand is quickest because it comes straight from the tube, though it picks up lipstick color. A lip brush gives precise placement and keeps the gloss tube clean, which is why Charlotte Tilbury suggests one when you don’t want the applicator stained with lipstick.
A fingertip suits a soft dab of sheer, diffused shine.
Use less than you think you need. Red Apple Lipstick advises a light lipstick layer followed by one thin swipe of gloss.
Which Lipstick Finishes Work Best Under Gloss?

Matte and fully dried liquid matte lipsticks take gloss best. Both hold pigment under a wet top layer and resist migrating toward the lip line.
| Finish | Reaction to gloss | Main risk | Best gloss pairing |
|---|---|---|---|
| Matte | Color holds, shine sits on top | Patchiness on dry lips | Clear or sheer |
| Liquid matte | Stable once fully dry | Gloss drags color if applied early | Clear or plumping |
| Cream | Edges soften under gloss | Color migrates, vibrancy dulls | Thin clear layer, center only |
| Satin | Sheen already present, gloss adds depth | Migration similar to cream | Sheer gloss |
| Lip stain | Color stays after gloss fades | Tacky feel while gloss is on | Clear or tinted |
A matte base keeps the color put while the gloss supplies the shine. Anyone turning a matte lipstick glossy ends up with a lived-in finish instead of a flat one.
YSL Beauty’s Tom Pecheux layered clear gloss over dried matte lipstick at the Philosophy di Lorenzo Serafini SS18 show (Net-a-Porter). His point was that the stain an inky matte leaves behind looks lived-in under gloss.
Let liquid formulas dry completely first. Makeup.com pairs Maybelline Super Stay Matte Ink with L’Oreal Paris Pro Gloss Plump as the topper.
Cream and Satin Lipsticks
Mented says moisture-rich lipsticks lose vibrancy under gloss and migrate more. Palladio Beauty, on the other hand, says its gloss layers over lipstick and works especially well over matte or satin colors.
Both can be true. A thin lipstick layer and a center-only dab keep the migration risk low.
For wear, stain formulas that tint the lips instead of coating them keep their color after the gloss wears away, according to a beauty creator quoted in Makeup.com’s 2021 gloss longevity guide.
Which Lip Gloss Type Changes the Lipstick Shade Most?
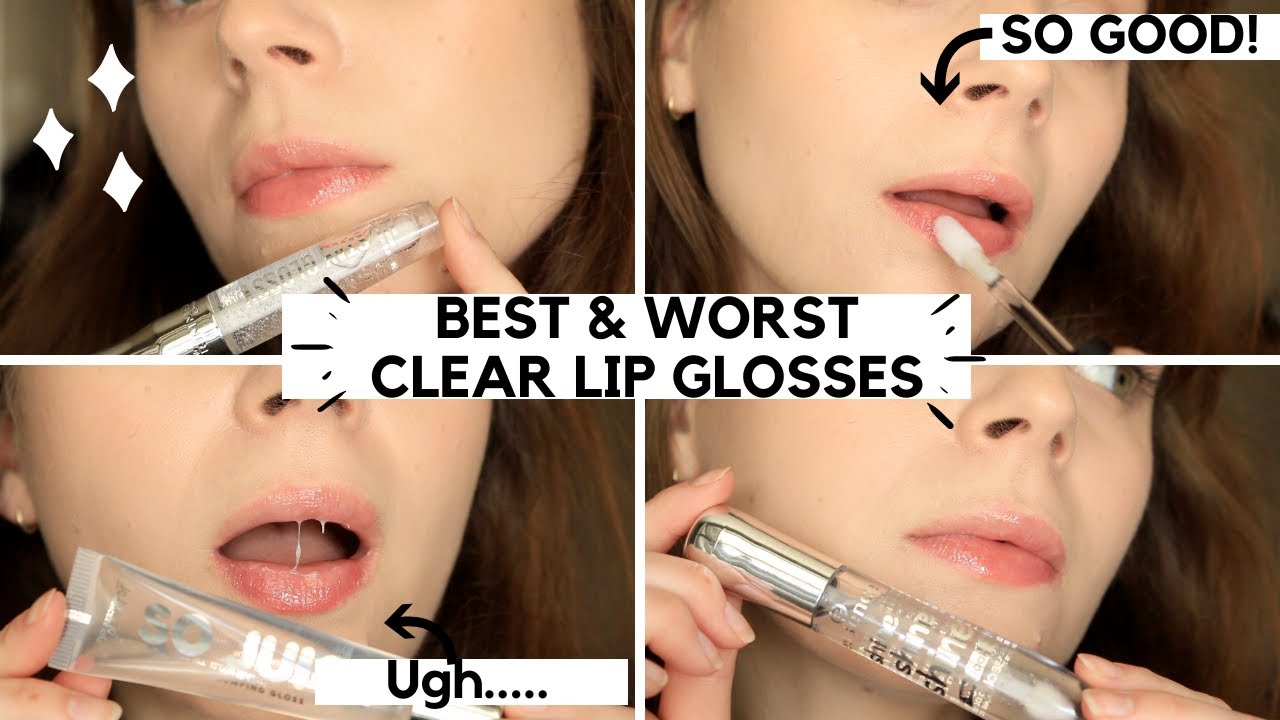
Clear gloss changes the shade least. Tinted and shimmer glosses shift it, and the gloss undertone decides which way.
There are more kinds of gloss than most tutorials list, and this rundown of types of lip gloss goes well beyond the ones covered below.
Clear Gloss
Clear gloss adds shine and keeps the lipstick color intact, according to Lindex’s lip gloss guide. It’s the safe default over most shades and finishes.
The downside is that it adds no color, so a lipstick that has faded stays faded.
Tinted Gloss
FASHION Magazine’s gloss feature pairs NYX Butter Gloss in Raspberry Tart with Milani Color Statement Moisture Matte Lipstick in Matte Glam.
A tinted gloss pulls the lipstick toward its own undertone. Bluemercury’s product guidance says a warm gloss brings out peach or golden notes, while a cool one pushes pink or berry.
The shift is hard to judge from the tube, because a gloss looks different on the lips than in the packaging.
Shimmer Gloss
Fine pearl gives a soft, diffused glow. Distinct sparkle reads louder and more pronounced. Either one looks best over a defined, opaque lipstick base.
Pick the particle size by how loud you want the lip to be.
Plumping Gloss
Plumping glosses use ingredients such as capsaicin and menthol, sometimes ginger, to stimulate the lips and draw water into their outer layer, as dermatologist Francesca Sy-Alvarado explains in Allure Philippines.
You get a fuller-looking lip under a high-shine finish, along with some tingling. Dermatologist Raissa Francisco-Pasion says the result is the appearance of fullness rather than true volume.
MAC’s Powerglass Plumping Lipgloss pairs a ginger, capsicum and menthol complex with hyaluronic acid, per Elle India. Lips that feel worse for days after use are a sign to stop, per the same Allure Philippines piece.
Lip Oil
A lip oil has a lighter, subtler sheen and absorbs over time. Gloss is thicker, shinier and sits on top (Maybelline’s gloss FAQ).
e.l.f. notes that a clear or sheer oil can finish a bold lipstick while adding nourishment.
The difference between lip oil and lip gloss comes down to thickness and wear, so oil suits a low-maintenance day and gloss suits a night out.
Gloss Over Red, Nude and Dark Lipsticks

The same gloss behaves differently depending on the shade underneath.
Over red, clear gloss keeps the color as is. A nude tips toward peach under a warm gloss and toward pink under a cool one. Deep berry and other dark shades get reflection from a sheer gloss, or a tone of their own from a tinted one.
How Does Gloss Change Lipstick Wear and Transfer?
The gloss layer wears off first. It is the mobile layer, and the lipstick underneath is the anchor.
A US patent on wear-resistant cosmetic compositions (patent 6,309,629) states that glosses move too readily on the lip surface. It adds that their oils can push color past the lip line and leave a halo.
Two sources frame the wear question differently. Makeup.com’s 2021 longevity guide quotes beauty creator Madison Murrell saying gloss over a matte liquid lipstick lasts all day. Bluemercury notes that gloss stays more mobile than a set matte, so reapplication is part of wearing it.
They agree on the mechanism, though. A matte base helps the gloss hold, and it does not stop the gloss from moving.
Sticky Formulas Last Longer
Maybelline says thicker, shinier glosses are stickier, while softer balm-like formulas wear off more easily. Creator Miranda Mendelson, quoted in Makeup.com (2021), says stickier glosses hang in longer than oilier ones. Patent application 20060204460 adds that viscosity above its stated upper limit gives poor spreadability and a sticky feel.
Those independent sources land on the same trade-off. Wear time and stickiness rise together, so picking a gloss means picking a compromise.
Ways to Extend Wear

Filling the lips with liner before lipstick gives the gloss a base to grip (creators quoted by Makeup.com in 2021). Blot the lipstick, then set it before any gloss goes on.
Makeup.com’s Correa advises pressing the lips to nothing but each other, which rules out glasses and food for a while. Correa also suggests layering two glossy shades for longer wear.
Setting the lipstick is the step with the biggest effect on what stays beneath the gloss. The method for setting lipstick with powder works the same way here, applied through a tissue after blotting.
Gloss sits on top of whatever base you built, so general ways to make lipstick last longer carry over directly.
Why Does Gloss Over Lipstick Feather or Smudge, and When Should You Skip It?

Gloss feathers when it migrates past the lip line, and it smudges when the lipstick below was never set. Both are fixable with liner, blotting and a thinner layer.
| Problem | Cause | Fix |
|---|---|---|
| Feathering | Gloss or oil migrating past the lip line | Colorless liner, powder at the edge, gloss kept off the corners |
| Smudging | Lipstick not blotted or set | Blot, set, then apply thin gloss |
| Color dilution | Moisture-rich lipstick under heavy gloss | Matte base or a pigmented gloss |
| Stickiness | Thick, high-shine formula or too much product | Thinner layer, softer balm-like gloss |
| Pilling | Dry lips or too much product | Better prep, thinner layers |
Bobbi Brown Pro Artist Warren Dowdall told Woman & Home to line the lips before and after lipstick. He also suggests a fine translucent powder dusted around the mouth to absorb excess oil, plus a sheer layer of concealer under the lip color.
Makeup artist Sonia Kashuk told O, The Oprah Magazine in 2007 that she applies foundation over the whole lip, then lines the mouth with a neutral or colorless pencil. She prefers her own no-feather pencil, and the column added Bourjois Transparent Lip Liner and Shu Uemura Drawing Lip Pencil as other good options.
The full routine for stopping lipstick from feathering applies whether the culprit is the lipstick or the gloss on top.
Pilling and Dry Lips
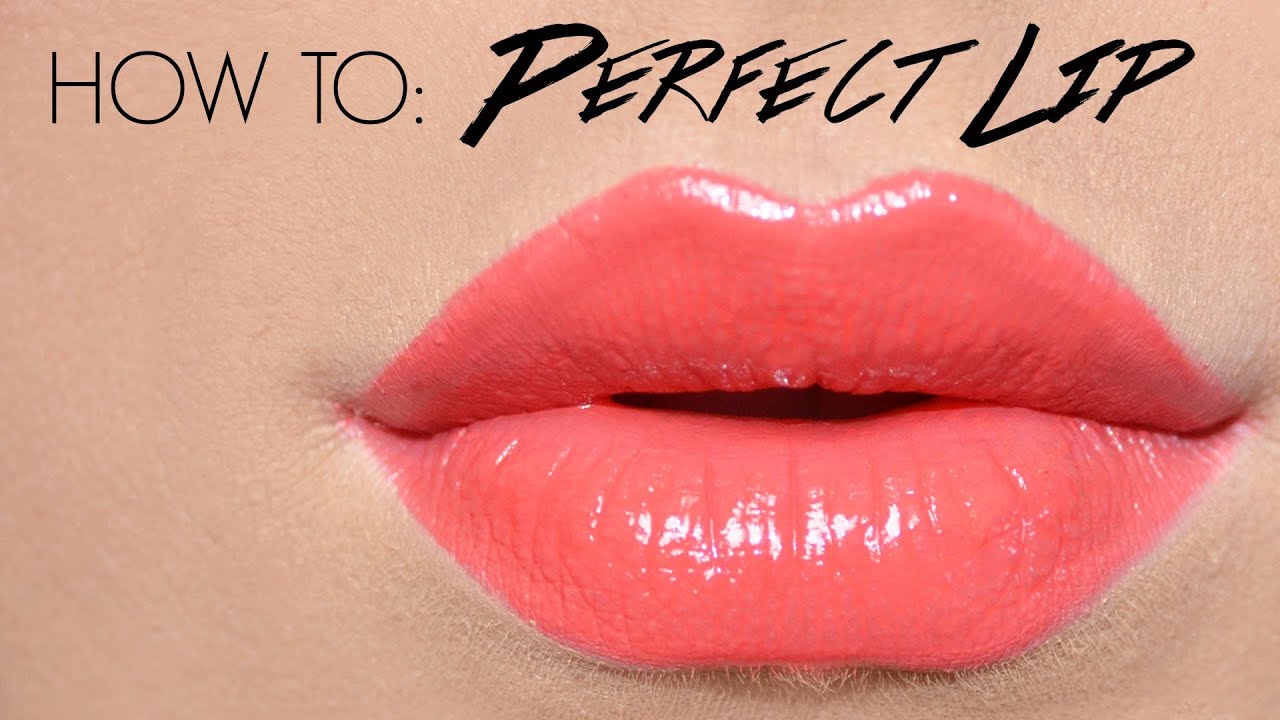
Makeup.com’s pilling Q&A names two common causes: applying lipstick to dry lips and using too much product. Makeup artist Brittany Lo adds that a lip oil or balm over a liquid lipstick keeps it from pilling.
Start with lips that are hydrated and gently exfoliated. Tips for applying lipstick on dry lips cover the base layer that gloss cannot fix.
When to Skip Gloss Over Lipstick
Skip it when a flat matte finish is the point. Gloss undoes that look by design.
Mented’s migration warning is a reason to pass on it over moisture-rich cream or satin lipstick too. And if your lips are peeling, prep comes first.
Bluemercury’s note that gloss stays more mobile than a set matte matters if you can’t reapply during the day.
Lip Gloss Over Lipstick FAQ
Can you apply lip gloss over lipstick without lip liner?
Yes. Gloss sits fine on a bare lip line, and liner is more of an edge-sharpening step than a requirement.
If feathering is a problem, a colorless pencil around the outline keeps the lipstick in place without adding a visible line.
Can you wear lip balm and lip gloss together with lipstick?
Yes, with the balm as the first layer. Charlotte Tilbury recommends hydrating with a lip oil or lip balm before lipstick, then adding gloss last.
Skip balm on top of the gloss. It adds nothing and thins the finish.
Can you reapply lip gloss over lipstick during the day?
Yes, as long as the lipstick underneath is still intact. Gloss is the layer that fades first, so a thin dab on the center brings the shine back.
If the color has smudged or feathered, wipe the lips clean and rebuild the lipstick layer before adding gloss again.
How do you remove lipstick and gloss together?
Blot the gloss off with a tissue first, then dissolve the lipstick with an oil-based remover or balm.
A matte or liquid base clings longest, so the steps for removing a matte lipstick apply when that is the layer underneath.
The Safest First Pairing for Lip Gloss Over Lipstick
A fully dried matte or liquid matte lipstick close to the natural lip color, finished with a thin dab of clear gloss at the center, is the lowest-risk first pairing.
The worst outcome is excess shine, and a quick blot corrects that.
From there, change one variable per attempt. Swap clear gloss for tinted first. After that, try a cream or satin base in place of the matte, and only then move from a center dab to full coverage.
The order follows risk. Tinted gloss shifts the shade, cream and satin bases add migration, and full coverage pushes gloss toward the lip line, where feathering starts.
Each step buys a more dramatic look and costs some control.

She started writing on the site after fielding the same questions from clients and friends often enough to just write the answers down: which red won't turn orange on a warm undertone, how to keep lipstick from feathering into fine lines, why a "12-hour" formula rarely survives dinner.
Every review on the site follows the same rule she uses with paying clients: wear it first, then decide if it's worth recommending.
- How to Make Eyeliner Last Longer Without Smudging - August 31, 2026
- How to Make Eyeshadow Last Longer All Day - August 29, 2026
- How to Find Your Undertone in 5 Easy Steps - August 27, 2026