
Summarize this article with:
You applied the perfect red lip. Twenty minutes later, it’s on your coffee cup, your teeth, and somehow your chin.
Learning how to make lipstick transfer proof fixes this problem for good.
The secret isn’t buying expensive products. It’s layering technique.
Professional makeup artists use a specific method combining lip primer, liner, matte liquid lipstick, and translucent powder to create budge proof lip color that survives meals, drinks, and yes, kissing.
This guide walks you through each step. You’ll get exact timing, product recommendations from brands like Maybelline SuperStay and Fenty Beauty Stunna Lip Paint, plus fixes for common mistakes.
Total time needed: 10 to 15 minutes.
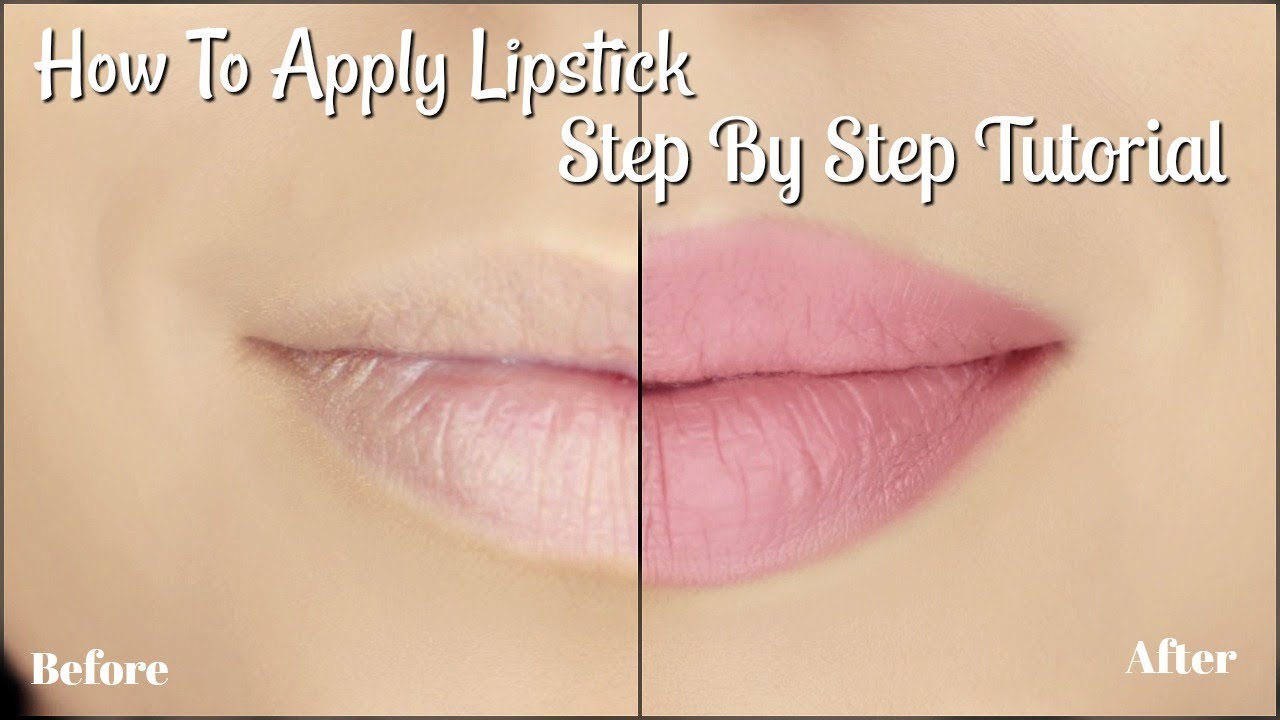
How to Make Lipstick Transfer Proof
Learning how to make lipstick transfer proof is the process of layering lip products and setting them so color stays put on your lips instead of your coffee cup.
You need this for weddings, long workdays, date nights, or any time you want kiss proof lip color without constant touch-ups.
This guide covers 6 steps requiring 10 to 15 minutes and basic makeup skills.
What You Need Before Starting
Gather these items before you begin:
- Lip scrub (sugar-based works great)
- Hydrating lip balm or overnight lip mask
- Lip primer or matte primer stick
- Liquid lipstick in long-wear or matte formula
- Lip liner matching your lipstick shade
- Translucent setting powder
- Single-ply tissue paper
- Small fluffy brush or powder puff
Products like NYX Lip Lingerie, Maybelline SuperStay, or Stila Stay All Day Liquid Lipstick are solid choices for smudge proof lip color.
Step One: How Do You Prepare Your Lips for Long-Lasting Lipstick?

Apply a pea-sized amount of lip scrub to dry lips and move in small circles for 30 to 60 seconds.
Wipe off with a damp cloth, then apply a thin layer of lip balm.
Wait 2 to 3 minutes before wiping excess. This step is non-negotiable if you want lipstick that stays on all day.
Action
- Lips: Apply scrub using fingertip in gentle circles
- Time: Exfoliate for 30 to 60 seconds
- Balm: Use thin coat, let absorb 2 to 3 minutes
Purpose
Removing dead skin creates a smooth base that prevents lipstick from clinging to dry patches.
Skip this and your color will flake off within hours. For ongoing lip care routine tips, exfoliate 2 to 3 times per week.
Step Two: Where Do You Apply Lip Primer?

Apply a thin layer of lip primer starting from the center of your lips and blend outward to the edges.
Cover the entire lip surface including outer corners. Wait 30 to 60 seconds for the primer to set.
Action
- Center: Apply small dot of primer
- Direction: Blend from center toward corners
- Wait time: Let primer set 30 to 60 seconds
Purpose
Lip primer creates a tacky base that helps your matte lipstick grip to the surface.
This extends wear time significantly. Think of it like using a makeup primer before foundation.
Step Three: How Do You Line and Fill in Your Lips?
Use a sharpened lip liner that matches your lipstick shade exactly.
Outline your natural lip line starting from the cupid’s bow. Then fill in the entire lip surface with short horizontal strokes.
Action
- Outline: Trace natural lip line starting at cupid’s bow
- Fill in: Cover entire lip surface with liner
- Strokes: Use short horizontal movements
Purpose
Liner creates a stain-like base layer that remains even if your top lipstick layer fades or transfers.
This is why professionals always use liner as a base for budge proof lip makeup. It also prevents feathering around the edges.
Step Four: What Is the Correct Method for Applying Liquid Lipstick?
Apply one thin coat of matte liquid lipstick using the applicator, starting at the center of your bottom lip.
Work toward the corners, then repeat on the top lip. Keep lips slightly parted for 60 to 90 seconds while the formula dries.
Products like Fenty Beauty Stunna Lip Paint, Huda Beauty Liquid Matte, or Anastasia Beverly Hills Liquid Lipstick work well for this technique.
Action
- First layer: Apply thin coat from center to corners
- Drying: Keep lips parted 60 to 90 seconds
- Second layer: Apply only if coverage appears uneven
Purpose
Thin layers dry faster and more evenly than thick applications, reducing tacky spots that transfer.
For detailed guidance on applying liquid lipstick correctly, focus on building color gradually rather than one heavy coat.
Step Five: How Do You Set Lipstick with Powder?
Hold a single-ply tissue flat against your closed lips.
Dip a small fluffy brush into translucent setting powder and lightly dust over the tissue. The powder passes through and sets the lipstick without visible residue.
This tissue blotting method is how professionals achieve all day lipstick wear.
Action
- Tissue: Hold single-ply flat against closed lips
- Powder: Dust translucent powder over tissue using fluffy brush
- Removal: Pull tissue away gently without dragging
Purpose
The tissue acts as a filter, allowing powder to seal the lipstick without depositing too much product.
Skip this step and your lip color will transfer onto everything it touches.
Step Six: How Do You Apply the Final Layer?

Remove the tissue and apply one more thin coat of liquid lipstick over the set layer.
Let this final layer dry completely for 60 to 90 seconds with lips parted. Do not press lips together until fully dry.
Action
- Application: Add thin top coat of lipstick
- Drying: Wait 60 to 90 seconds with lips parted
- Testing: Kiss back of your hand to check for transfer
Purpose
The final layer restores color intensity while benefiting from the sealed base layers underneath.
This creates true transfer resistant lip color that survives coffee, meals, and yes, kissing.
How Do You Confirm the Lipstick Is Transfer Proof?
Kiss the back of your clean hand firmly for 3 seconds and check for color residue.
Minimal to no color means success. Significant transfer means you need more setting powder and another thin lipstick layer.
Some formulas like MAC Retro Matte, NARS Powermatte Lip Pigment, and ColourPop Ultra Matte Lip pass this test better than others.
Common Issues and Fixes
Issue: Lipstick Feels Dry and Uncomfortable
Apply a tiny drop of lip oil to the center of lips only, avoiding edges.
This adds comfort without compromising the smear resistant lip color finish. Too much oil and you lose the transfer proof effect.
Issue: Color Fading at the Center of Lips
Reapply liner to center area only, then add thin layer of lipstick to that spot.
Center fading happens from eating or drinking. Learning how to make lipstick last longer helps prevent this.
Issue: Visible Powder Texture on Lips
Use finer milled setting powder or tap off excess before applying through the tissue.
Heavy-handed powder application creates that chalky look nobody wants.
Issue: Lipstick Cracking or Flaking
Your lips were not properly exfoliated or hydrated before application.
Remove product completely with proper liquid lipstick removal techniques and restart from step one. Those with chronically dry lips need extra prep.
Related Processes
Once you master transfer proof application, explore these related techniques:
- Applying matte lipstick for different finishes
- Keeping lipstick off teeth throughout the day
- Stopping lipstick from feathering outside lip lines
- Applying lipstick with different formulas
Different lipstick types require slight adjustments to this method, but the core layering technique stays the same.
FAQ on How To Make Lipstick Transfer Proof
What type of lipstick is best for transfer proof wear?
Matte liquid lipsticks work best for transfer proof application. Brands like Maybelline SuperStay, Stila Stay All Day, and NARS Powermatte Lip Pigment dry down completely. Cream and glossy formulas contain oils that never fully set, making transfer unavoidable.
Does setting powder really prevent lipstick transfer?
Yes. Translucent powder creates a barrier that locks color in place. The tissue blotting method filters powder onto lips without visible residue. This single step transforms regular lipstick into smudge proof lip color that lasts through meals.
How long does transfer proof lipstick last?
Properly applied transfer proof lipstick lasts 6 to 10 hours depending on eating and drinking habits. Touch-ups at center of lips may be needed after meals. The layering technique with primer, liner, and powder maximizes lipstick longevity.
Can I make regular lipstick transfer proof?
Partially. Traditional bullet lipsticks contain moisturizing ingredients that resist full setting. You can reduce transfer using primer and powder, but lip stains or liquid mattes deliver better results for true budge proof lip makeup.
Why does my transfer proof lipstick still smudge?
Common causes: applying too thick, not waiting for layers to dry, skipping lip primer, or using oily lip products underneath. Each layer needs 60 to 90 seconds drying time. Patience creates kiss proof lipstick results.
Is lip liner necessary for transfer proof lipstick?
Highly recommended. Filling lips completely with long lasting lip liner creates a base layer that stays even when top color fades. Liner also prevents feathering and defines edges for cleaner all day lipstick wear.
How do I eat without ruining transfer proof lipstick?
Take small bites, avoid greasy foods touching lips directly, and use utensils when possible. Drinking through straws helps preserve color. Some center fading is normal. Carry liner for quick touch-ups after eating.
Will transfer proof techniques work with dark lipstick shades?
Absolutely. The layering method works for all colors. Deep shades like MAC Retro Matte or Pat McGrath MatteTrance benefit most since dark color transfer is more noticeable. Dark lipstick requires extra precision during application.
Can I add gloss over transfer proof lipstick?
You can, but it defeats the purpose. Lip gloss adds shine but reintroduces transfer potential immediately. For subtle sheen without smudging, apply a tiny drop of lip oil to center of lips only.
How do I remove transfer proof lipstick at the end of the day?
Use oil-based makeup remover or micellar water on a cotton pad. Hold against lips for 10 seconds to dissolve the formula. Avoid harsh scrubbing. Follow with lip care for dry lips to restore moisture overnight.
Conclusion
Mastering how to make lipstick transfer proof comes down to proper layering and patience between coats.
The technique works with formulas from Charlotte Tilbury Matte Revolution to drugstore options like L’Oreal Infallible Pro Matte and Revlon ColorStay.
Six steps. Lip exfoliation, primer, liner base, thin lipstick layers, tissue blotting method, and final coat.
Each layer needs adequate drying time. Rush it and you’ll still see lipstick transfer on cups.
The payoff is worth those extra minutes. Fade resistant lipstick that survives your entire day without constant mirror checks.
No more color on wine glasses. No more reapplication after every sip of coffee.
Lock in your lip color once and forget about it. That’s the goal, and now you have the method to achieve it.

- What Is Skin Tint and Why Everyone Is Obsessed - July 11, 2026
- What Is Foundation and How Do You Choose One? - July 6, 2026
- How to Make Blush Last Longer - July 3, 2026


