

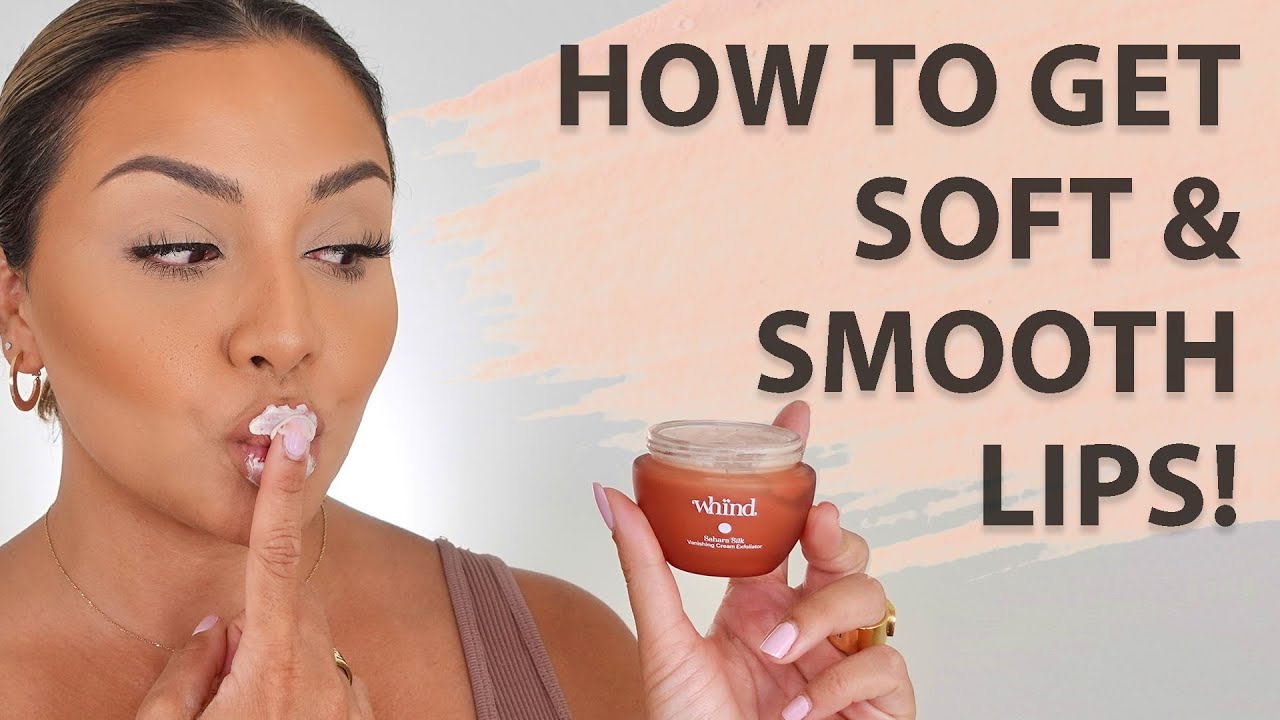
You spent ten minutes perfecting your lip color. An hour later, it looks like a crime scene around your mouth.
Lipstick bleeding ruins even the most careful application. The color creeps into fine lines, feathers past your lip edges, and smudges at the corners.
Learning how to keep lipstick from bleeding changes everything. No more constant mirror checks. No more color migration disasters.
This guide covers the exact steps to stop feathering before it starts. You will learn proper lip prep, barrier techniques, and setting methods that actually work.
Seven steps. Fifteen minutes. Clean, defined lip edges that last all day.
Introduction
Keeping lipstick from bleeding is the process of preventing lip color from migrating outside the natural lip line into surrounding fine lines and facial skin.
This problem shows up most with creamy formulas, glossy finishes, and when lips lack proper preparation.
Lipstick feathering becomes more noticeable with bright and dark shades. The color creeps into perioral wrinkles, creating that smudged, messy look nobody wants.
Your lip skin texture matters more than you think. Dry, flaky lips and fine lines around the mouth are the main culprits.
This guide covers 7 steps requiring 10 to 15 minutes and basic makeup application skills. You will learn how to create a smooth lip surface, build proper barriers, and lock everything in place.
Prerequisites
Gather these items before you start:
- Lip scrub or exfoliating tool
- Lip balm (non-greasy formula)
- Lip liner matching natural lip color or lipstick shade
- Lip primer or eyeshadow primer
- Concealer or foundation
- Lipstick (matte or satin finish recommended)
- Translucent setting powder
- Lip brush for precise application
- Clean tissue for blotting
Skill level: Beginner to intermediate.
Time estimate: 10 to 15 minutes for full application.
Different lipstick types behave differently. Glossy and balm-like formulas tend to move more than matte or satin finishes.
Step One: How Do You Prepare Your Lips by Exfoliating?
Remove dead skin cells from your lips using a gentle lip scrub or exfoliating tool, working in small circular motions for 30 seconds, then rinse to reveal a smooth surface that allows lip products to grip evenly.
Action
- Apply lip scrub: Use a pea-sized amount on dry lips
- Massage gently: Small circular motions for 30 seconds, focus on flaky areas
- Rinse thoroughly: Use warm water, pat dry with clean towel
You can also use a damp washcloth for a gentler approach. Some people prefer DIY scrubs made with sugar and honey.
Purpose
Rough, textured lip skin catches lipstick unevenly. The color then slides into cracks and fine lines instead of staying put.
A smooth canvas prevents this color migration. Your lip product will adhere properly and maintain defined edges throughout the day.
Learn more techniques for exfoliating lips naturally if you prefer gentler methods.
Step Two: How Do You Hydrate Your Lips Before Application?
Apply a thin layer of non-greasy lip balm to your clean, exfoliated lips, massage it in gently, wait 2 to 3 minutes for absorption, then blot away any excess so lipstick has moisture without a slippery surface.
Action
- Apply lip balm: Thin layer only, avoid heavy or oily formulas
- Wait 2-3 minutes: Let the product absorb fully into lip skin
- Blot excess: Press tissue lightly against lips to remove any remaining residue
Too much balm creates a slippery base. Your lipstick will slide right off.
Purpose
Hydrated lips hold color better than dry, cracked ones. The moisture prevents your lipstick from pulling away as you talk, eat, or drink.
But here is the tricky part. You need enough hydration without creating a greasy layer that causes bleeding.
A proper lip care routine between applications keeps your lips in good condition. For persistent dryness, check out specific tips for lip care for dry lips.
Step Three: How Do You Apply a Primer to Create a Smooth Base?

Apply a thin layer of lip primer or eyeshadow primer to your entire lip area including just beyond the lip line, let it dry for 60 seconds, creating an invisible barrier that fills fine lines and prevents color from migrating.
Action
- Dispense primer: Small amount on fingertip or lip brush
- Apply to lips: Cover entire lip surface plus slightly beyond the vermilion border
- Wait 60 seconds: Let primer set completely before next step
Eyeshadow primer works surprisingly well as a lip primer alternative. The tacky finish grips lipstick and stops it from moving.
Purpose
Primer fills in tiny crevices and fine lines where lipstick loves to settle. It creates a smooth, even surface for your color.
The tacky texture also gives your lip product something to hold onto. Without this grip, creamy formulas slide around and feather into surrounding skin.
Understanding how to use makeup primer correctly makes a real difference in your overall lipstick staying power.
Step Four: How Do You Use Concealer Around the Lip Line?
Apply a thin line of concealer or foundation around the outer edge of your lips using a small brush, blend outward into the skin, then set with translucent powder to create a physical barrier that blocks color migration.
Action
- Apply concealer: Thin line directly around lip edges using a small precision brush
- Blend outward: Feather into surrounding skin, never toward the lips
- Set with powder: Light dusting of translucent powder over the concealer
Full-coverage formulas work best. The thicker consistency creates a stronger barrier against feathering.
Purpose
Concealer builds a wall that stops lipstick from creeping outward. The powder locks this barrier in place for hours.
Master using concealer properly and you will see a dramatic difference in your lip edge definition.
Step Five: How Do You Apply Lip Liner to Create a Barrier?
Outline your natural lip line with a long-lasting lip liner, starting at the cupid’s bow and working outward to the corners, then fill in your entire lips to create a base layer that grips lipstick and prevents bleeding.
Action
- Start at cupid’s bow: Draw a precise X shape, then connect to outer corners
- Line bottom lip: Start from center, work outward to corners on each side
- Fill entire lips: Color in the whole lip surface with liner as a base coat
Keep your pencil sharp for clean lines. Learn the proper technique for sharpening lip liner to maintain precision.
Purpose
Lip liner creates the strongest barrier against bleeding. Its waxy, dry texture physically blocks creamy lipstick from escaping.
Filling in the entire lip surface gives your color something to grip. Understanding how to apply lip liner correctly is probably the most effective anti-feathering technique.
Not sure which shade to pick? Check out tips for choosing lip liner that matches your lipstick or natural lip color.
Step Six: How Do You Apply Lipstick Using the Layering Method?

Apply your first thin layer of lipstick using a lip brush starting from the center and working outward, blot with tissue to remove excess, then apply a second layer focusing color toward the center for buildable, smudge-proof coverage.
Action
- First layer: Thin coat with lip brush, start center and move outward to edges
- Blot with tissue: Press gently to remove excess product, do not rub
- Second layer: Apply more color toward lip center, less at edges
A lip brush gives you way more control than applying straight from the tube. Precision matters when you are fighting feathering.
Purpose
Thin layers adhere better than one thick coat. The blotting removes oils that cause slipping and bleeding.
Concentrating color toward the center keeps less product near the edges where bleeding starts. Get more techniques for applying lipstick with professional results.
Working with bold shades? Learn specific methods for wearing bright lipstick or wearing dark lipstick without color transfer issues.
Step Seven: How Do You Set Your Lipstick to Lock in Color?
Hold a single-ply tissue over your lips and lightly dust translucent setting powder through it using a fluffy brush, creating a matte seal that locks color in place and dramatically extends wear time without altering the shade.
Action
- Separate tissue: Pull apart to single ply, hold flat against closed lips
- Dust powder through tissue: Light hand with fluffy brush, cover entire lip surface
- Optional final layer: Apply one more thin coat of lipstick for color intensity
The tissue method prevents powder from making your lips look chalky or flat.
Purpose
Setting powder absorbs oils and creates a matte finish that resists movement. Your lipstick stays exactly where you put it.
Detailed instructions for setting lipstick with powder can help you perfect this technique. Also learn applying translucent powder for best results.
Verification
Check your work before leaving the mirror:
- Clean edges: No color visible outside your natural lip line
- Even coverage: No patchy or thin spots across lip surface
- Matte seal: Lips feel set, not slippery or tacky
- Smile test: Edges stay sharp when you move your mouth
Press lips together gently. If color transfers to the inner lip area only, you are good. If it smears toward edges, add more powder.
Want zero transfer? Learn techniques for making lipstick transfer proof.
Troubleshooting
Issue: Lipstick Still Bleeds After Following All Steps
Switch to a liquid lipstick formula that dries down matte. These set completely and rarely feather.
Your lip skin may have deeper lines that need extra primer. Apply two thin layers instead of one, letting each dry completely.
Issue: Lip Liner Shows After Lipstick Fades
Use a liner that matches your natural lip color instead of your lipstick shade. The nude tone disappears as color wears off.
Or choose a liner one shade lighter than your lipstick. It blends seamlessly as the day goes on.
Issue: Lips Feel Too Dry After Application
Apply a tiny drop of lip gloss to the center of your bottom lip only. Avoid edges completely.
Consider switching to a satin lipstick formula. It offers more comfort than matte without the high bleeding risk of glossy finishes.
Alternative Method: Clear Lip Liner Technique
Clear or invisible lip liners work with any lipstick shade. No color matching required.
How It Compares
- Colored lip liner: Creates visible definition, requires shade matching, shows if lipstick fades unevenly
- Clear lip liner: Invisible barrier, works with every color, disappears as lipstick wears
Clear liner contains the same waxy formula as regular liners. It blocks bleeding just as effectively without adding color.
Choose colored liner when you want defined edges or plan to create ombre lips. Choose clear liner for a more natural fade and easier touch-ups throughout the day.
Related Guides
- Making lip liner last all day
- Applying matte lipstick for beginners
- Applying liquid lipstick without mistakes
- Applying lip gloss over lipstick safely
- Keeping lipstick off teeth
- Applying setting spray for longer wear
FAQ on How To Keep Lipstick From Bleeding
Why does my lipstick bleed into the lines around my mouth?
Lipstick bleeding happens when color migrates into fine lines and wrinkles surrounding your lips. Dry skin, loss of collagen, and creamy or glossy formulas increase feathering. Lack of proper lip prep and missing barrier products like liner or primer make it worse.
What type of lipstick is least likely to bleed?
Matte and satin finishes bleed less than glossy or balm-like formulas. Lip stain products also resist feathering because they absorb into lip skin rather than sitting on top. Avoid anything too creamy or shiny.
Can I prevent lipstick bleeding without using lip liner?
Yes. Apply lip primer to fill fine lines, use concealer around your lip edges, and set with translucent powder. These steps create barriers without liner. The powder technique works especially well for preventing color migration.
Does lip primer really stop lipstick from feathering?
Lip primer fills tiny crevices where color settles and creates a tacky surface for lipstick to grip. It forms an invisible barrier that blocks bleeding. Apply it slightly beyond your natural lip line for best protection.
How do I stop dark lipstick from bleeding?
Dark shades show bleeding more obviously. Use a matching lip liner to outline and fill your entire lips before applying color. Set with powder through a tissue. Dark lipstick looks require extra prep time but the results last.
Why does my lipstick bleed even when I use lip liner?
Your liner may be too creamy or not applied correctly. Fill your entire lips with liner, not just the edges. Set the liner with powder before adding lipstick. Also check that your lipstick ingredients are not too oil-heavy.
What is the tissue powder trick for setting lipstick?
Hold a single-ply tissue flat against your lips. Dust translucent setting powder through it using a fluffy brush. The tissue filters the powder for a subtle matte finish that locks color without looking chalky or flat.
Can older skin prevent lipstick from bleeding?
Yes. Focus on hydration and primer to fill deeper lines. Use matte lipstick formulas that stay put. Line lips with a shade matching your natural lip color. Keeping lips moisturized with matte lipstick prevents dryness without causing feathering.
Should I use clear or colored lip liner to prevent bleeding?
Both work equally well as barriers. Clear liner suits any lipstick shade and disappears as color fades. Colored liner adds definition and extends wear time. Choose clear for convenience; choose colored when you want sharper, more defined lip edges.
How often should I touch up lipstick to prevent bleeding throughout the day?
Blot and reapply every 3 to 4 hours, or after eating and drinking. Carry your lip liner for quick edge touch-ups. A small brush and translucent powder help clean any minor feathering before it spreads further.
Conclusion
Lipstick bleeding stops when you build the right barriers.
Exfoliate. Hydrate. Prime. Line. Layer. Set.
These six steps take fifteen minutes but save you hours of touch-ups and frustration.
The key? Don’t skip the primer or liner. Those two products do the heavy lifting.
Your lip color should stay exactly where you put it. No feathering into fine lines. No smudging at the corners.
Clean edges last all day when you prep properly and set thoroughly.
Start with one step at a time if the full routine feels overwhelming. Even just adding lip liner makes a noticeable difference.
Perfect lips are within reach.

She started writing on the site after fielding the same questions from clients and friends often enough to just write the answers down: which red won't turn orange on a warm undertone, how to keep lipstick from feathering into fine lines, why a "12-hour" formula rarely survives dinner.
Every review on the site follows the same rule she uses with paying clients: wear it first, then decide if it's worth recommending.
- What Is Lash Glue and How Do You Use It? - July 20, 2026
- What Is CC Cream and How Is It Different? - July 16, 2026
- What Is Skin Tint and Why Everyone Is Obsessed - July 11, 2026


