Most bad foundation days trace back to what happened before the bottle was opened. Dry skin and a mismatched shade cause more trouble than any formula does, and a dirty sponge doesn’t help either.
The method itself is short. Hydrate the skin, put small dots on the cheeks, forehead, nose and chin, and blend outward until the edges disappear.
Foundation evens out skin tone, and it has done its job when the result still looks like skin.
What you apply it with sets the finish. Fingers and damp sponges give sheer to medium coverage that looks like skin, while flat and buffing brushes give fuller, smoother coverage.
Experts don’t agree on the single best tool. Woman&Home reports that most of them favor a brush. Oz Hair and Beauty names a damp sponge the best bet for beginners, and NYX says no single best way exists.
The finish you want decides the tool, and the formula and skin type decide the rest.
How to apply foundation step by step

Clinique’s guide, featuring makeup artist Natasha Severino, says foundation sinks best into hydrated skin. That’s why prep sits at the top of the list.
- Cleanse, moisturize and apply SPF, letting each layer absorb.
- Add primer if your makeup slides, your pores show or you need long wear.
- Swatch the shade on the jawline in daylight and let it dry down before you decide.
- Pick the applicator that suits the formula.
- Place a small amount at the center of the face and blend toward the hairline, jaw and neck.
- Add concealer only where the foundation leaves a gap.
- Set with powder or spray, depending on your skin type and the finish you want.
Too much product is the mistake L’Oréal Paris makeup artist Val Garland sees most often (Woman&Home). Start light and add more only where you need it.
How should you prep skin before foundation?

Skincare goes on first and primer only if your skin needs it, with each layer given time to absorb before the next one.
Thin Lizzy’s guide separates foundation that sits smoothly from foundation that clings and slides, and prep is the difference.
Cleanser clears old product and oil, which gives foundation a bare surface to start on. Dry skin wants a richer cream for moisturizer and oily skin a light gel. SPF goes last among the skincare steps, right before primer.
The American Academy of Dermatology recommends a broad-spectrum SPF of 30 or higher. It also notes that skin takes about 15 minutes to absorb sunscreen and protect you, so it should go on before you head outside.
That window is about sun protection, not makeup grip. For foundation, wait until the skin stops feeling wet or tacky.
The FDA’s 2011 sunscreen rule allows skin cancer and early skin aging risk-reduction claims only on broad-spectrum products at SPF 15 or higher. The AAD sets the bar at 30, so a foundation labeled SPF 15, such as MAC Studio Fix Fluid SPF 15, should not stand in for the sunscreen underneath.
If your skin flakes or reacts, a quick cleanse and moisturize won’t cut it. This routine for prepping skin before makeup goes further.
Is primer worth the extra step?
Not always. NYX calls primer optional but highly recommended, because it gives foundation grip and helps it last.
It earns its place when makeup slides off oily zones or pores are visible. Same if you need wear that outlasts a workday.
Skip it on dry, calm skin under a skin tint. And primer will not rescue a wrong shade or flaking skin.
Grip, texture and finish vary by formula, so a closer read on what makeup primer actually does helps you pick one.
How to check foundation shade and undertone before you start
Swatch two or three shades along the jawline in daylight and pick the one that disappears. Undertone comes first, depth second.
Maybelline’s guide describes undertone as the tone beneath the surface that harmonizes with whatever you put over it. Skin tone is how light or deep you are right now, and a summer tan changes it. Undertone stays put.
Cool undertones show a pink, red or bluish cast, and silver jewelry tends to flatter them. Warm ones read yellow, golden or peachy, with gold as the better match. Neutral means a balanced mix, or no strong cast either way. Olive has a greenish or yellow-green cast and sits between warm and cool.
A few quick checks help. In the vein test, green wrist veins read warm and blue ones read cool. In the white cloth test, a yellowish cast on bare skin reads warm and a pink or bluish one reads cool.
The jewelry test is the least reliable, mostly because people just pick the metal they like. Olive skin trips up all of them, so test more than one shade there.
Swatch on the jawline rather than the hand or wrist, and check it by a window instead of under store lighting. Then walk away and look again once it dries, because foundation can oxidize darker.
Counter staff at stores such as Sephora can match shades in person, and a walkthrough on how to match makeup to your skin tone applies the same logic to concealer and powder.
Severino, in the Clinique guide, gives the simplest test of all. If the shade is right, a sheer layer over the whole face still lets your natural skin tone show through.
Fingers, sponge or brush: which applicator suits each foundation formula?

Fingers or a damp sponge work for liquids, creams and skin tints. A flat or buffing brush gives fuller coverage, and powder needs a brush.
| Tool | Best with | Finish and coverage | Weak point |
|---|---|---|---|
| Fingers | Skin tint, cream | Sheer to light, skin-like | Less control at the edges |
| Damp sponge | Liquid, cream | Natural to medium | Absorbs product if dry |
| Flat brush (MAC 190) | Liquid, cream | Medium to full, smooth | Streaks if dragged |
| Buffing brush | Liquid, powder, cream, stick | Medium to full, buffed | Needs light pressure |
| Stippling brush | Liquid | Light to medium, airbrushed | Slower on large areas |
Formula by formula
Liquid foundation does well with a damp sponge or a flat brush when you want control, and with fingers if you want a sheer layer. Cream goes on with fingers or a damp sponge, since the warmth of your hands helps foundation melt into skin (Clinique).
Stick foundation gets dotted or swiped on, then blended with a sponge or buffing brush. For powder, use a brush and work it in with circular motions (Kiko, NYX UK). Skin tints suit fingers, and a cushion compact comes with its own puff.
Powder changes more than the tool, so a separate guide on applying powder foundation covers the motions.
Why sources disagree on the best applicator
The brush, sponge and no-single-best-way views only look like a conflict. They answer different questions.
Brushes win on smoothness and coverage. Sponges are the forgiving option and look more like skin.
MAC senior artist Dominic Skinner makes the same point in the Woman&Home piece, saying the right brush depends on the finish you want.
Where a sponge goes wrong
Sponges have a hygiene problem, and the numbers are bad. Aston University researchers found that 93% of the beauty blenders in their study had not been cleaned, and 64% had been dropped on the floor and kept in use (Journal of Applied Microbiology, 2019).
The sponges stay damp after use, which the researchers describe as an ideal breeding ground for bacteria. Lead author Amreen Bashir calls for washing them regularly and drying them thoroughly.
Use a proper sponge cleanser, and see this guide on cleaning makeup sponges properly for the method.
Wet the sponge until it swells to about double its size and squeeze out the excess, using a towel if needed. Then bounce it on the skin, because swiping only moves product around, per Beautyblender.
Beautyblender advises replacing the sponge every 3 to 6 months, and sooner if stains will not wash out or it loses its bounce.
How much foundation to use and where to put it

Small dots go on the cheeks, forehead, nose and chin, and everything gets blended outward from there.
UOMA’s guide keeps the dots small in the zones that need the most coverage, since coverage is easier to build than to remove.
The Body Shop adds a check most tutorials skip. Work in natural light, ideally by a window, so you can check your blending before you leave the house.
Where the product goes
Start with the cheeks, forehead, nose and chin, and skip any zone that already looks even. The jaw and neck wait for the blending pass.
Which motion to use
Quick taps with a brush, called stippling, blend without pushing product around. Bouncing means pressing a damp sponge into the skin and lifting it off. Small circles with a dense brush (buffing) give a smoother, fuller finish.
Wiping or rubbing is the one to skip, because it smears the layer into streaks.
The pressing rhythm is easier to learn from a full guide on applying makeup with a sponge.
Brush users get the same detail on stroke direction and pressure in a walkthrough on applying makeup with a brush.
Blending the edges
The edges decide whether foundation reads as skin or as a mask. Work along the jawline and hairline, then down the neck, until no line remains.
If product lands in the hairline, lift it with a clean, slightly damp sponge. Adding powder there only sets the mistake.
Adjusting foundation application for oily, dry, combination and mature skin

Oily skin does best with a matte or natural longwear finish. Dry skin wants a liquid with a luminous finish, and combination and mature skin land somewhere in between.
On dry skin, press a brush or sponge in rather than dragging it across, because dragging can make flaking worse.
Oily and combination skin
Keep the layers thin, since heavy ones slide.
Longwear matte or natural formulas hold up best on oil-prone skin. Powder belongs only on the shine zones, as a light veil and not on wrinkled areas (Nars trainer Mathieu Grandjean, Paris Select Book).
Candid Studios suggests keeping blotting papers handy for quick oil touch-ups, and pressing a finely milled translucent powder into oily zones to set them. Combination skin gets a lighter hand on dry cheeks and powder on the T-zone alone.
Dry and mature skin
Dry and mature skin needs more moisture before makeup. Bobbi Brown told AARP she applies moisturizer, eye cream and sunscreen in the morning, and switches to a face oil stick at night when her skin is really dry.
Fluid, hydrating formulas sit better on skin than heavy ones, according to Grandjean, who also recommends a hydrating setting spray after powder. That keeps foundation from pooling in lines.
Dry skin has its own prep rules, and a guide on how to apply makeup on dry skin goes through them step by step.
Sensitive skin
Use fewer products and patch-test a new foundation on the jawline before the full face.
A separate piece on doing makeup for sensitive skin covers ingredients to avoid.
Foundation before or after concealer, and how to set it

Foundation goes on first in most routines, and concealer follows only where the skin still needs coverage.
Stylist reports that concealer applied before foundation tends to be wiped away when the foundation goes over it. Bobbi Brown senior pro artist Warren Dowdall puts concealer after foundation for blemishes and hyperpigmentation, though he starts with the under-eye area. Ruby Hammer MBE uses the same foundation-first order and puts eye makeup between the two, so fallout is cleaned up without disturbing the base (Live That Glow).
The default is contested, though. Makeup artist Gilbert Soliz prefers concealer first for underpainting, a technique that uses concealer to brighten (Bustle).
Foundation goes first when it has medium or full coverage. The same goes for skin-tone concealer that covers spots or dark areas, and for concealer that doubles as a highlight.
Concealer can go first when a color corrector, such as green or peach, is involved (Slashed Beauty). It also suits a sheer base like foundation or tinted moisturizer, and anyone after the underpainting effect.
Shade choice and blending change depending on the order, and a guide to using concealer over a finished base covers both.
Setting with powder
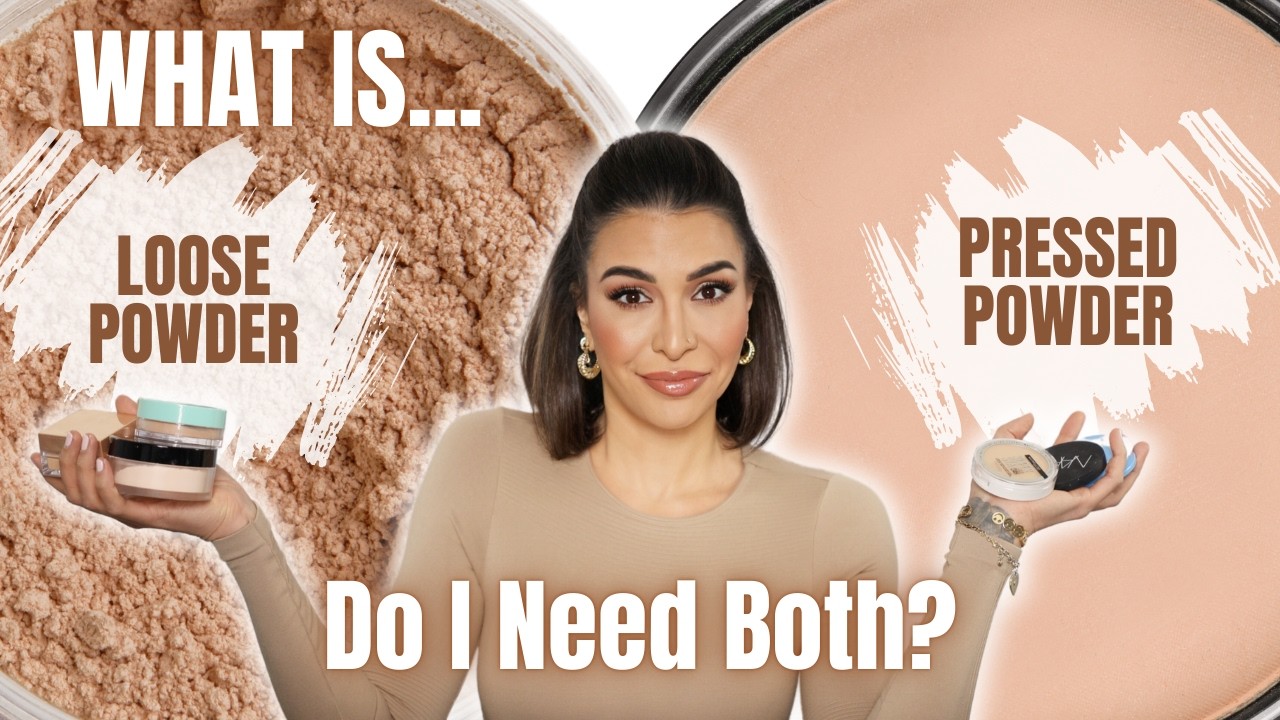
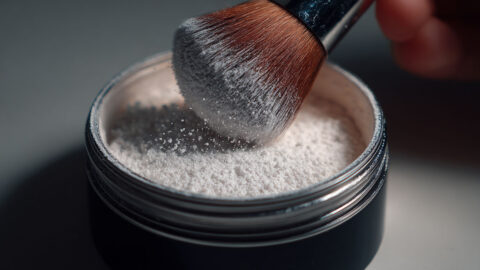
Powder sets liquid and cream foundation and cuts shine. A loose translucent powder, such as Laura Mercier Translucent Loose Setting Powder, goes on in a thin dusting over the shiny zones.
The rest of the face stays bare, which keeps the finish from going flat.
The brush or puff matters as much as the powder, so see this guide on applying setting powder for pressing versus sweeping.
Setting with spray
Setting spray claims deserve a little skepticism. In Urban Decay’s own 7-day study of 50 participants, 78% said All Nighter helped their makeup last 16 hours (self-reported, brand-run).
The directions say to shake the bottle, hold it 8 to 10 inches from the face, and mist 2 to 4 times in an X and a T. Close your eyes first.
GLOSSYBOX makeup artist Lucinka credits a setting spray with stopping foundation from settling into fine lines and pores. Makeup.com adds the limit that a spray cannot replace good skin prep.
What causes cakey, patchy or darkening foundation, and how do you fix it?

Most foundation failures trace back to skin condition, product amount, clashing layers or shade, not to the foundation formula itself.
| Problem | Likely cause | Fix | Prevention |
|---|---|---|---|
| Cakey | Too much product, dry or flaky skin | Press with a damp sponge | Thin layers, hydrate first |
| Patchy | Dehydrated skin, clashing products | Let skincare absorb, press foundation in | Regular gentle exfoliation |
| Darker by midday | Oxidation from oil and formula | Blot oil, rematch the shade | Oil-control prep, thin layers |
| White cast in flash photos | Titanium dioxide or zinc oxide | Swap the setting powder | Test a flash photo first |
| Settled in lines | Heavy matte layer, extra powder | Tap with a clean sponge | Hydrating formula, powder on shine only |
Cakey foundation
Experts cited by the South China Morning Post name too much product as the biggest cause of cakey foundation. Makeup.com agrees that the fix is often less, not more.
Patchy foundation
Makeup artist Mary Irwin points to dehydrated skin as a major culprit (Makeup.com). Silicone-based and water-based layers can also separate when they meet on the skin.
Exfoliate gently, 1 to 3 times a week (Makeup.com), then hydrate right away and wait until the skin feels settled. When you apply, press the foundation in with a damp sponge (Adore Beauty’s Marie Poulos).
More detail on the repair steps sits in a guide on how to fix patchy makeup.
Foundation that turns darker
Dermatologist Dr. Shereene Idriss says excess oil contributes heavily to oxidation. Makeup artist Dominique Lerma adds that titanium dioxide, zinc oxide and iron oxide can raise the odds (both via Makeup.com).
Both sources say no quick fix exists, and Lerma suggests a shade just slightly lighter than your skin tone for formulas that oxidize on you. That is an exception to the jaw swatch rule, not a replacement for it.
A full routine for how to stop foundation from oxidizing covers the oil-control steps.
White cast in flash photos
Candid Studios traces flashback to titanium dioxide and zinc oxide, the physical sunscreen filters that reflect light. Adore Beauty tells artists to avoid setting powders and sprays carrying them, and to reach for a tint-free powder such as RCMA No Colour Powder.
Both sources advise skipping SPF products before flash photos, which sits awkwardly beside daily sunscreen advice. Test a flash photo before the event and swap the setting powder first, the foundation second.
When technique cannot fix it
Technique cannot rescue a wrong shade or a formula that oxidizes on your skin. If the problem returns after prep, thin layers and a clean sponge, change the product.
Foundation FAQ
What should a beginner buy first?
Start with a shade-matched liquid foundation and a makeup sponge. Oz Hair and Beauty calls the sponge the best bet for beginners.
Swatch the shade on the jawline before you worry about brand or price.
Which end of a makeup sponge goes on the face?
Both, for different zones. Beautyblender global trainer Mark Chi (Bustle) uses the rounded end on larger areas of the face, such as when applying foundation.
The pointed tip handles targeted work a round edge cannot do, like blending concealer under the eyes or covering a blemish.
Is it safe to apply foundation with your fingers?
Yes, as long as your hands are freshly washed. Slice warns that unwashed fingers spread bacteria and cause breakouts.
Fingers also give less control than a sponge or brush, so streaks and heavy patches are the usual trade-off.
How often should you wash a makeup sponge?
Anywhere from daily to weekly, depending on which artist you ask. Beautyblender global trainer Mark Chi washes his sponge first thing every morning (Bustle).
Makeup artist Lisa Potter-Dixon recommends cleaning it once a week to keep product from drying inside it (Hello!).
Can you mix foundation with setting spray?
Yes, with a spray whose maker supports it. Urban Decay’s directions for All Nighter suggest mixing a little spray into foundation on the back of the hand.
The same directions offer a second route. Mist the sponge or brush before it touches the foundation.
When to change your foundation instead of your technique
Change the foundation only after you’ve ruled out prep, layer thickness and the applicator. A new formula costs money and resets the shade match, so it comes last.
That order follows reversibility. Prep and amount cost nothing to adjust, and a sponge or brush is a small purchase. A formula swap means retesting undertone on the jawline.
The trade-off sits in the formula itself. Lighter hydrating formulas are comfortable and move with the face, but they don’t hold as long. Matte longwear ones stay put, and you will feel them.
Wear time is the next variable, and a guide on making makeup last all day picks up from there.

She started writing on the site after fielding the same questions from clients and friends often enough to just write the answers down: which red won't turn orange on a warm undertone, how to keep lipstick from feathering into fine lines, why a "12-hour" formula rarely survives dinner.
Every review on the site follows the same rule she uses with paying clients: wear it first, then decide if it's worth recommending.
- How to Make Eyeliner Last Longer Without Smudging - August 31, 2026
- How to Make Eyeshadow Last Longer All Day - August 29, 2026
- How to Find Your Undertone in 5 Easy Steps - August 27, 2026