

Summarize this article with:
Most people are using setting powder wrong, and the result shows up by noon.
Knowing how to apply setting powder correctly is the difference between a base that lasts all day and one that creases, oxidizes, or slides off your T-zone before lunch. It’s not a complicated step, but the technique matters more than most people realize.
Whether you have oily skin that breaks down foundation in two hours, dry skin that turns cakey at the first sign of powder, or combination skin that needs targeted placement, this guide covers it all.
You’ll learn which loose and pressed powder formats work for each skin type, the right tools for the job, step-by-step application, and how to remove it properly at the end of the day.
What Is Setting Powder

Setting powder is a finely milled cosmetic product used to lock foundation and concealer in place, reduce shine, and extend how long your base makeup lasts. It works by absorbing excess oil and creating a thin, dry layer over liquid or cream formulas so they stay put throughout the day.
It’s not the same as finishing powder, though a lot of people use the terms interchangeably. Setting powder is applied mid-routine, right after your base. Finishing powder goes on last, purely for aesthetic reasons like adding glow or a blurred effect. They serve different purposes.
The global setting powder and face powder market was valued at $4.43 billion in 2024, according to WiseGuy Reports, with demand driven largely by the need for long-lasting, lightweight makeup solutions across all skin types.
Setting Powder vs. Finishing Powder vs. Setting Spray
| Product | When to Apply | Main Purpose | Best For |
|---|---|---|---|
| Setting powder | After base makeup | Lock and oil control | Oily skin, long wear |
| Finishing powder | Final step | Blur, glow, or refine | All skin types |
| Setting spray | Very last step | Seal and melt makeup | Dry or dewy looks |
Who Actually Needs Setting Powder
Oily skin types benefit most. Without powder, foundation tends to slide off the T-zone within a few hours, especially in warm or humid conditions.
It also makes a difference for photography and long events. Makeup artists have used translucent powder on set for decades specifically because it reduces the shiny, reflective look that flash photography picks up.
People with dry skin can skip it entirely or use it in targeted areas only. Using too much on dry skin tends to emphasize texture rather than smooth it.
—
Loose vs. Pressed Setting Powder
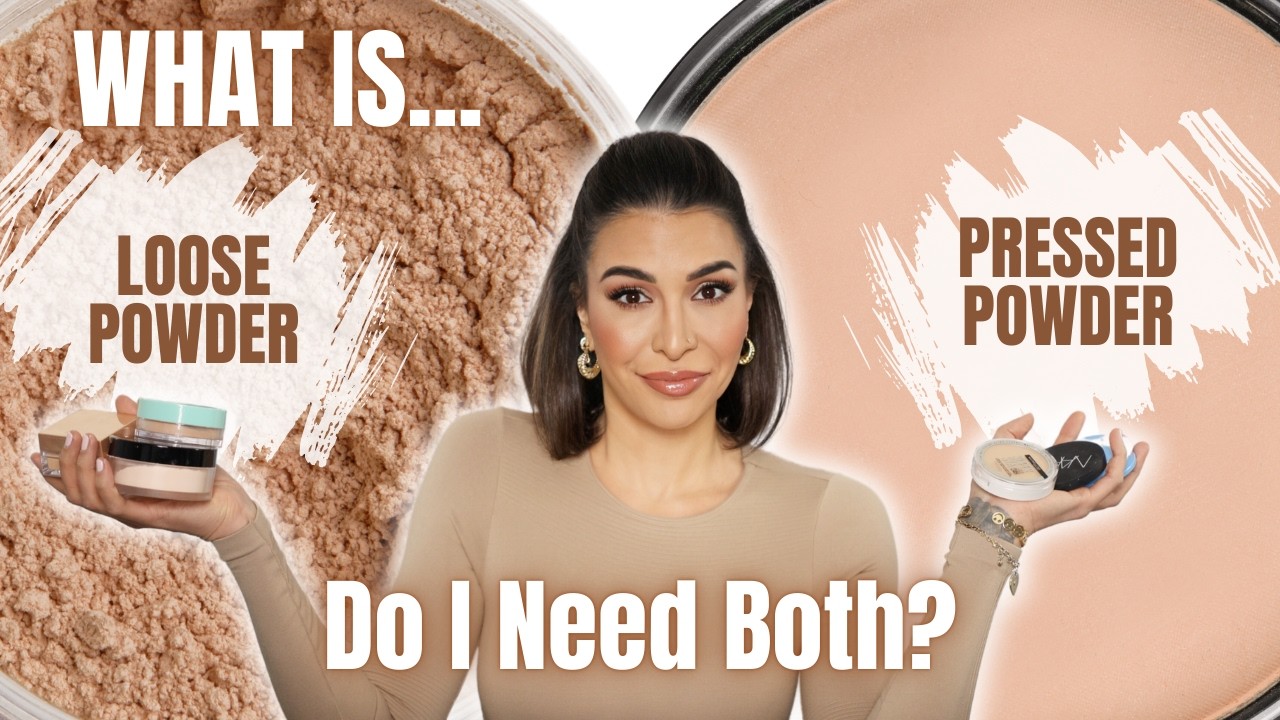
This is usually the first decision you’ll make when buying setting powder. The format affects the finish, the coverage level, and honestly how easy it is to apply without overdoing it.
Loose powder is lighter and sheerer. It’s better for full-face setting because the fine particles distribute more evenly. It’s the go-to for oily skin and the format most makeup artists reach for on set.
Pressed powder is more compact and portable. It’s better for touch-ups during the day since you can toss it in a bag without worrying about spills. The coverage tends to be slightly heavier than loose.
Verified Market Reports data from 2023 shows loose (translucent) powder formats held approximately 50% of total market share, with pressed formats at 40%. Pressed is the fastest-growing sub-segment, largely driven by demand for on-the-go convenience.
Which Format Works for Each Skin Type
Loose powder: Best for oily and combination skin. Gives a lighter, more natural finish. Easier to build coverage gradually without caking.
Pressed powder: Works better on dry skin for touch-ups. The compact format makes it easier to control how much product you pick up, which helps people who tend to over-apply.
Typology’s 2024 skincare and makeup guide notes that loose powder is generally recommended for oily skin to achieve a matte finish, while pressed formats are more commonly used on dry skin for mid-day touch-ups.
Popular Options Worth Knowing
- Laura Mercier Translucent Loose Setting Powder – the industry standard for good reason
- Charlotte Tilbury Airbrush Flawless Finish – pressed, great for travel
- RCMA No-Color Powder – a longtime favorite in film and TV
- Coty Airspun Loose Powder – budget-friendly, surprisingly effective
- NARS Light Reflecting Powder – good for dry skin, adds a subtle glow
—
Tools for Applying Setting Powder

The applicator changes the finish as much as the powder itself does. Using the wrong tool for your goal is one of the most common reasons people end up with a result that looks off.
Fluffy Powder Brush
Best finish: Soft, diffused, natural.
This is the default for most everyday use. A large, fluffy brush sweeps powder across the skin lightly without pressing it in. The result looks natural and minimal.
Use this when you want a sheer, even application across the whole face. It’s not great for under-eye setting because it doesn’t press the powder into fine lines, which means the concealer there can still crease.
Velour Powder Puff
The puff packs powder directly into the skin. More product, more coverage, longer wear. This is the tool drag queens and makeup artists have used for decades to make a base genuinely transfer-proof under stage lights.
Fold the puff in half, press it into the powder, then press it onto the skin using a stamping motion rather than wiping. Wiping moves the foundation underneath. Stamping seals it.
Works especially well on the T-zone for oily skin and along the jaw for high-coverage or full-glam looks.
Damp Beauty Sponge
Used for: Baking technique, building coverage under eyes.
A damp sponge picks up loose powder and presses it into the skin in a dense, concentrated layer. This is specifically what you need for the baking method. It gives more coverage and hold than either the brush or dry puff.
The tradeoff is that it’s the easiest tool to overdo it with. Use it only in targeted areas, not all over the face.
—
How to Apply Setting Powder Step by Step

Most people apply too much, too fast, in the wrong order. The actual technique is simpler than it looks, but a few small details make a big difference.
Let your foundation settle for at least one to two minutes before reaching for the powder. Applying over wet foundation causes patchiness and caking. Celebrity makeup artist Wendi Miyake, whose clients include Madonna and Kelly Rowland, recommends waiting for the base to fully settle before any powder touches it.
Full-Face Powder Application
- Complete your full base: foundation, concealer, contour, blush
- Tap a fluffy brush into the powder, then tap off the excess against your hand
- Apply starting at the center of the face and working outward
- Use light, sweeping motions on the cheeks and forehead
- Press gently around the nose and mouth where makeup tends to shift
Less product than you think. That’s the rule. You can always add more. You cannot take it back once it’s caked.
How to Apply Setting Powder Under Eyes
This spot is where powder does some of its most useful work, and also where it causes the most damage when misused. Under-eye concealer creases into every fine line if it’s left unpowdered. Too much powder, though, and it sits in those same lines and looks worse.
Use a small, dense brush or a damp sponge. Pick up a small amount of loose translucent powder and gently press it under the eye. Don’t swipe or rub. Press, hold for a few seconds, then lightly dust away any excess with a clean brush.
Makeup artist Mai Quynh, who works with Jessica Alba, uses a small fluffy brush specifically for the under-eye and nose area to target creasing without disturbing the rest of the base.
How to Apply Setting Powder on Oily Skin
Focus areas: T-zone, sides of nose, chin, inner corners of the eyes.
Use a powder puff and press the product in rather than sweep it. For oily skin specifically, pressing creates a denser barrier that holds up better against sebum. Miyake recommends pressing powder with a puff all over the face for oily skin, specifically for longevity.
People with very oily skin may also benefit from a light layer of translucent powder applied before foundation, not just after. This creates a dry base for the foundation to grip, which slows down oil breakthrough. The powder-before-foundation technique has gained traction specifically among oily skin types dealing with heavy oil production in humid conditions.
—
The Baking Technique

Baking is not a modern trend. Drag queens in clubs and on stage were using it for decades before it went mainstream. The technique was designed for one purpose: making makeup survive hours under hot stage lights without a single touch-up.
Wikipedia’s entry on baking confirms it as a “very old makeup technique” that moved into mainstream beauty largely through drag culture, then gained wider visibility when Kim Kardashian’s makeup artist used it publicly in the early 2010s.
How Baking Works
After applying foundation and concealer, scoop up a generous amount of loose translucent powder onto a damp beauty sponge. Press it thickly onto the under-eye area, the high points of the cheeks, and any other areas you want maximum coverage and longevity from.
Leave it for 5 to 10 minutes. Your body heat warms the powder and helps it bond with the concealer underneath. After the wait, dust away the excess with a large fluffy brush.
The result is a matte, crease-resistant finish with noticeably more coverage and longevity than standard powder application.
When Not to Bake
Baking on dry or mature skin is a bad idea. The dense powder layer settles into fine lines and dry patches and makes them look worse, not better. Multiple makeup artists working with women over 50 recommend skipping this technique entirely in favor of a light pressing motion with a brush.
Skip baking if you have:
- Dry or dehydrated skin
- Mature skin with visible fine lines
- Sensitive skin prone to irritation from heavy product
- A look that needs to stay dewy or natural
—
Where to Apply Setting Powder on the Face

Applying powder everywhere is the most common mistake. Targeted placement gives a more natural result, uses less product, and avoids over-drying areas that don’t need it.
Placement by Goal
Full-face matte finish: Apply across the entire face with a brush, but use a lighter hand on dry areas like cheeks and temples.
Natural or minimal look: Focus only on the T-zone. Forehead, nose, and chin. Leave the rest bare or very lightly dusted.
Under-eye longevity: Always set this area, regardless of skin type. Concealer under the eyes creases faster than anywhere else on the face. A small pressed application here makes a real difference.
Areas to Avoid or Use Lightly
Powder on dry patches makes them more visible. If you have flaky skin around the nose or along the hairline, skip those spots entirely.
The outer corners of the eyes are another area where powder can settle and emphasize texture. Light hand or skip it. Same goes for the lips. Setting powder near the mouth can exaggerate fine lines and make lipstick look dry and patchy.
| Zone | Apply Powder? | Recommended Tool |
|---|---|---|
| T-zone (forehead, nose, chin) | Yes, always | Puff or brush |
| Under eyes | Yes, lightly | Small brush or damp sponge |
| Cheeks (oily skin) | Yes, lightly | Fluffy brush |
| Cheeks (dry skin) | Skip or very minimal | Brush, feather-light |
| Dry patches, hairline | No | Skip entirely |
If you’re doing a more elaborate lip look or applying lipstick as part of your full routine, complete the lip application after setting powder to avoid any dry, flaking edges from powder residue near the lip line.
How Much Setting Powder to Use
Less than you think. That’s the answer almost every time.
The single most common mistake across all skin types is overloading the brush or puff before it touches the face. Powder builds up fast, and once it’s on, the only fix is starting over or dampening a sponge to press it back into the skin.
According to Laura Mercier’s consumer perception study, 89% of users confirmed their translucent loose setting powder doesn’t settle into imperfections or look cakey when used correctly. The word “correctly” is doing a lot of work in that sentence.
The Right Amount by Applicator
Brush: Swirl once into the powder, then tap the brush against your wrist or the jar’s edge. What stays on after tapping is enough.
Puff: Fold the puff in half, press it into the powder, rub the halves together to distribute evenly, then tap off the excess. Most people skip the tap-off and wonder why their base looks thick.
Damp sponge (baking only): Pick up a concentrated amount for targeted areas. Not for the whole face.
Signs You Used Too Much
You’ll know pretty quickly.
- Foundation looks flat or loses its color
- Skin texture becomes more visible, not less
- Under-eye area looks gray or chalky
- Powder layers up during the day instead of wearing off naturally
Huda Beauty’s guide to baking confirms that excess powder sits on top of skin rather than setting into it, producing a chalky, dry result that no amount of blending fixes. The solution is always starting lighter and building from there.
—
Setting Powder for Different Skin Types
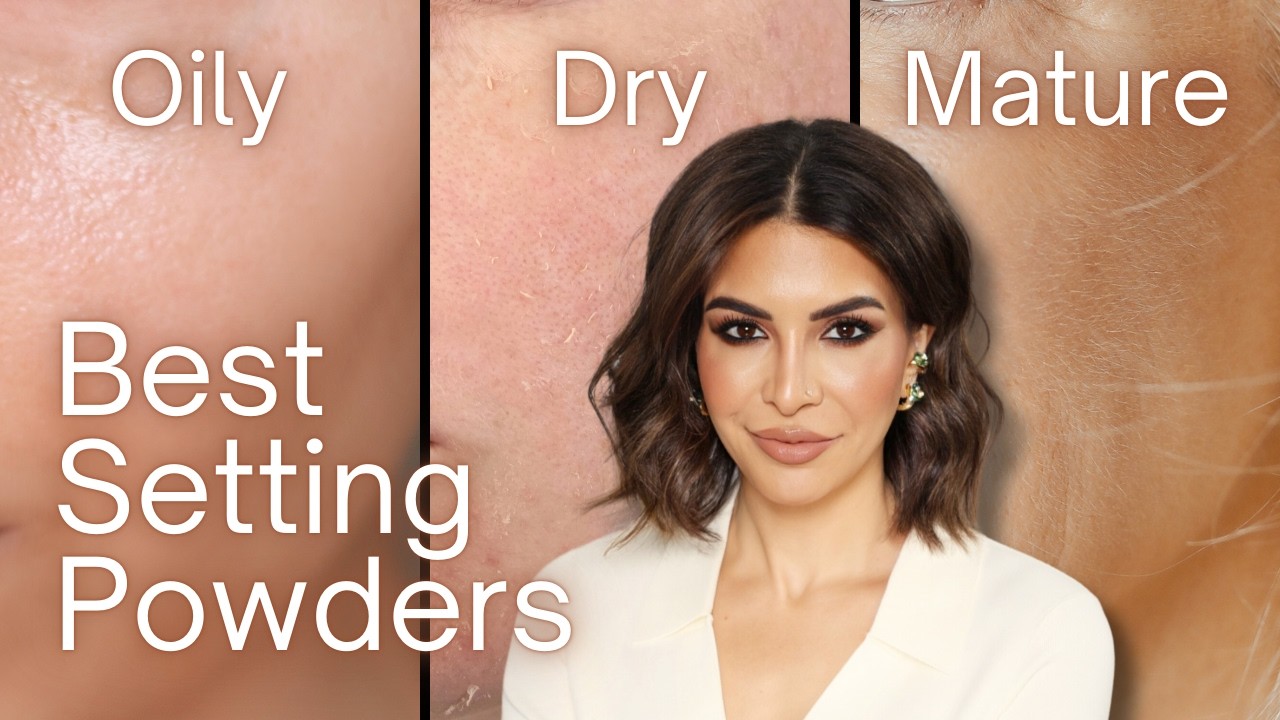
There’s no single approach that works across all skin types. Application method, product choice, and placement all shift depending on what your skin does throughout the day.
Oily Skin
Goal: Maximum longevity, oil absorption, matte finish.
Use loose translucent powder applied with a velour puff. Press the product in using a stamping motion across the T-zone and any other areas that break down first. Sweeping spreads it too thin for oily skin. Pressing creates the barrier that actually holds.
Touch-ups during the day matter too. Blot with a blotting sheet first to remove surface oil, then add a very light dusting of pressed powder. Adding powder over accumulated oil without blotting first just pushes the grease around.
Dry Skin
Loose powder market data from Typology (2024) shows compact formats are more commonly used on dry skin specifically for the ability to control application precisely during touch-ups. That’s useful context.
For dry skin, use as little product as possible. Focus on the nose bridge and T-zone only if needed. Skip the under-eye area entirely if dryness or fine lines are a concern. A pressed formula with hyaluronic acid tends to behave better here than a standard loose translucent option.
Key rule: Never bake on dry skin. Never set the full face. Targeted, minimal application only.
Combination Skin
Selective placement. Powder the T-zone and any reliably oily zones. Leave the cheeks and outer face areas alone unless blush or bronzer needs something to grip onto.
The RCMA No-Color Powder and e.l.f. Halo Glow Setting Powder both work well here because neither formula is heavy enough to cake on drier areas while still providing control where oil tends to build.
Mature Skin
Powder isn’t off-limits for mature skin. It just needs a different approach. Makeup artist Erica Taylor, a 26-year industry veteran who works with MAC and Laura Mercier, is direct about this: “Mature women can use a setting powder. It just has to be applied differently.”
The difference comes down to placement and moderation. Taylor recommends focusing on the nose and T-zone where shine gathers naturally, and avoiding the under-eye area entirely, where powder settles into fine lines.
| Skin Type | Best Format | Placement | Tool |
|---|---|---|---|
| Oily | Loose translucent | Full face, focus T-zone | Velour puff |
| Dry | Pressed, hydrating formula | T-zone only | Fluffy brush, light hand |
| Combination | Loose or pressed, light formula | T-zone, targeted areas | Brush |
| Mature | Finely milled, no talc | Nose, chin, minimal T-zone | Fluffy brush, very light |
—
Common Setting Powder Mistakes

Most of these come up repeatedly in professional makeup artist kits and beginner routines alike. The mistakes don’t change much. Just the frequency.
Applying Too Much Product
Covered in detail above, but worth repeating here: overloading the brush is the root cause of most setting powder complaints. Cakey finish, ashy cast, visible texture, powder buildup by midday. All of it traces back to too much product.
Start with a fraction of what looks like enough. Assess. Add more only if needed.
Using the Wrong Shade
Some “translucent” powders are not actually colorless. They contain light pigments that can appear ashy or gray on deeper skin tones, especially under flash photography. This is why testing under natural light and flash matters before committing to a product.
A true translucent, colorless formula like RCMA No-Color or Laura Mercier Translucent is the safer starting point. Shade-matching a powder is harder to get right than shade-matching a foundation.
Setting Before the Base Has Settled
Foundation applied over still-wet foundation causes patchiness. So does powder applied over a freshly applied, still-wet base.
Celebrity makeup artist Wendi Miyake recommends waiting at least one to two minutes for the base to fully settle before reaching for powder. Skipping this creates uneven texture in the powder layer and pulls the foundation underneath out of place.
Skipping the T-Zone on Oily Skin
Some people avoid powder entirely because they worry it’ll look too heavy. Then their foundation breaks down by noon.
Targeted, light application on the T-zone is exactly what prevents that. It doesn’t require a full-face dusting. Just press a small amount where oil actually builds.
Wrong Shade for Photography
Powders containing silica or SPF can cause flash photography flashback, the white cast that appears in photos even when the powder looks invisible in natural light. If photography is involved, whether for an event or a photoshoot, test the powder under flash first.
MAKE UP FOR EVER’s HD Skin Setting Powder was formulated specifically to eliminate this issue. It’s a common choice on film sets for that reason.
—
How to Remove Setting Powder at the End of the Day

Setting powder bonds with foundation and concealer underneath. It doesn’t rinse off with water alone. Treating it like regular face powder and just splashing water on your face leaves a residue that blocks pores overnight.
Leaving powder and base makeup on overnight disrupts the skin’s natural renewal process, leads to clogged pores, and over time contributes to uneven texture. That’s not a scare tactic. It’s just how skin biology works.
The Double Cleanse Method
The most effective approach for full-face makeup, including setting powder, is a two-step removal.
Step one: Oil-based cleanser or cleansing balm applied to dry skin. Massage it in, then add a small amount of water to emulsify. This breaks down the powder, foundation, and any long-wear products underneath.
Step two: A water-based cleanser to clear away anything remaining. This is the step that actually cleans the pores rather than just dissolving the surface makeup.
Clinique’s guide to double cleansing confirms their Take The Day Off Cleansing Balm removes over 95% of stubborn face makeup, sunscreen, and pollutants in the first step alone. The second cleanse is still needed for complete removal.
For Lighter or Minimal Powder Days
Not every routine needs two cleansers. If you applied only a light dusting of translucent powder over a minimal base, micellar water followed by a gentle gel or foam cleanser is enough.
The key signal is how much product you wore. Heavy base plus setting powder plus baking equals double cleanse, no question. Tinted moisturizer with a light T-zone powder can be handled more simply.
After cleansing, apply your regular evening skincare, serum, moisturizer, eye cream. Clean skin absorbs actives better than skin with residual makeup sitting on it. That’s when your skincare routine actually works, not while powder is still in your pores.
If you’re working through a regular skin and lip care routine, proper makeup removal is the step that makes the rest of it matter. You can also look into how to prep skin before makeup the next morning to get the most out of a clean base before reapplying foundation and powder the following day.
FAQ on How To Apply Setting Powder
Do you apply setting powder before or after foundation?
After. Always after. Apply foundation and concealer first, let them settle for one to two minutes, then dust or press your translucent setting powder over the top. Applying powder before liquid base only works as an oil-control trick for very oily skin types.
How do you apply setting powder without it looking cakey?
Use less product than you think you need. Tap off excess from the brush before it touches your face. Focus on the T-zone and under eyes only. A light press with a fluffy brush gives a natural finish without buildup or a heavy, dry look.
What is the difference between loose and pressed setting powder?
Loose powder is lighter and better for full-face setting, especially on oily skin. Pressed powder is more portable and controlled, making it ideal for touch-ups. Both can be translucent or tinted, depending on the coverage level you want.
Can you use setting powder on dry skin?
Yes, but sparingly. Stick to targeted placement on the nose and chin. Skip the under-eye area entirely. Choose a hydrating formula with hyaluronic acid or squalane rather than a talc-heavy powder, which tends to cling to dry patches and emphasize texture.
How do you apply setting powder under the eyes?
Use a small dense brush or damp sponge. Press a small amount of loose translucent powder gently under the eye using a stamping motion. Do not sweep or rub. Dust away any excess with a clean fluffy brush to avoid creasing or caking over concealer.
What is the baking technique in makeup?
Baking means applying a thick layer of loose powder onto concealer with a damp sponge, leaving it for five to ten minutes, then brushing off the excess. Body heat sets the base underneath. It originated in drag culture and works best for full-glam, high-coverage looks.
How much setting powder should you use?
Very little. Pick up powder with your brush, tap off the excess, then apply. A light dusting is enough for most skin types. Over-applying is the most common mistake and causes cakiness, a flat finish, and powder buildup throughout the day.
What brush do you use for setting powder?
A large fluffy powder brush gives the most natural, diffused finish for everyday use. A velour puff packs more product in for oily skin or full-glam looks. A small dense brush or damp beauty sponge works specifically for under-eye setting and the baking method.
Can setting powder replace setting spray?
No. They do different things. Setting powder absorbs oil and locks base makeup in place mid-routine. Setting spray goes on last and melts everything together for a more natural, skin-like finish. Using both gives the best long-wear result, especially for oily skin.
How do you remove setting powder at the end of the day?
Use the double cleanse method: an oil-based cleanser or cleansing balm first to break down powder and foundation, followed by a water-based cleanser to clear the pores. Water alone will not remove long-wear powder formulas, especially over full-coverage base makeup.
Conclusion
This conclusion is for an article presenting the full process of applying setting powder, from choosing between loose and pressed formats to mastering the baking technique and knowing when to skip powder entirely.
Skin type drives every decision here. Oily skin needs a velour puff and targeted pressing. Dry and mature skin need restraint, finely milled formulas, and placement focused on the T-zone only.
Tools matter just as much as product. A fluffy powder brush, a damp beauty sponge, and a velour puff each produce a different finish.
Get the removal right too. A proper double cleanse at the end of the day protects your skin and keeps your base looking fresh the next morning.
Start light. Build only if needed. Your powder routine will follow.

- What Is Skin Tint and Why Everyone Is Obsessed - July 11, 2026
- What Is Foundation and How Do You Choose One? - July 6, 2026
- How to Make Blush Last Longer - July 3, 2026


