

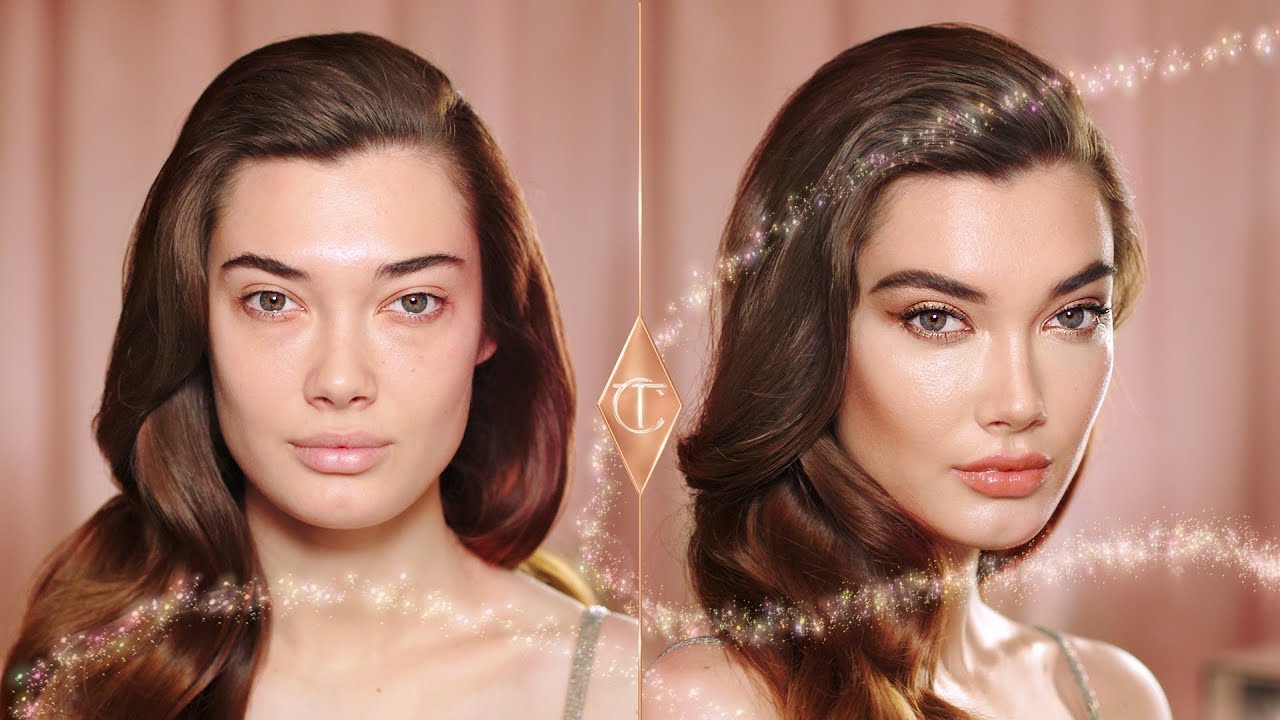
That bottle of Charlotte Tilbury Flawless Filter sitting on your vanity can do way more than you think. Most people use it wrong and wonder why they look greasy instead of glowing.
Learning how to use Charlotte Tilbury Flawless Filter properly transforms it from overhyped liquid highlighter to genuine complexion enhancer. The trick isn’t buying it, it’s knowing when to mix, layer, or skip it entirely.
This guide covers everything: mixing ratios with foundation, skin type adjustments, tool selection, and fixing the mistakes that make you look shiny instead of radiant. You’ll learn which application methods create natural luminosity versus obvious highlighting technique.
By the end, you’ll know exactly how much product to use, where to place it, and how to make that dewy glow last without sliding off your face.
What is Charlotte Tilbury Flawless Filter

Flawless Filter is a hybrid makeup product that blurs the line between skincare and cosmetics.
It combines primer, liquid highlighter, and complexion enhancer in one bottle.
The formula contains light-reflecting particles suspended in a hydrating base with hyaluronic acid and glycerin.
You get buildable coverage with a luminous finish, not full foundation but more than a basic face primer.
Understanding Flawless Filter Product Attributes

Product Category and Formula Type
This sits between traditional categories. Too glowy to be just primer. Too sheer to replace foundation.
The silicone-based formula includes dimethicone for smooth application and mica for that signature dewy glow.
Water-based foundation users sometimes struggle with mixing because the textures don’t always play nice together.
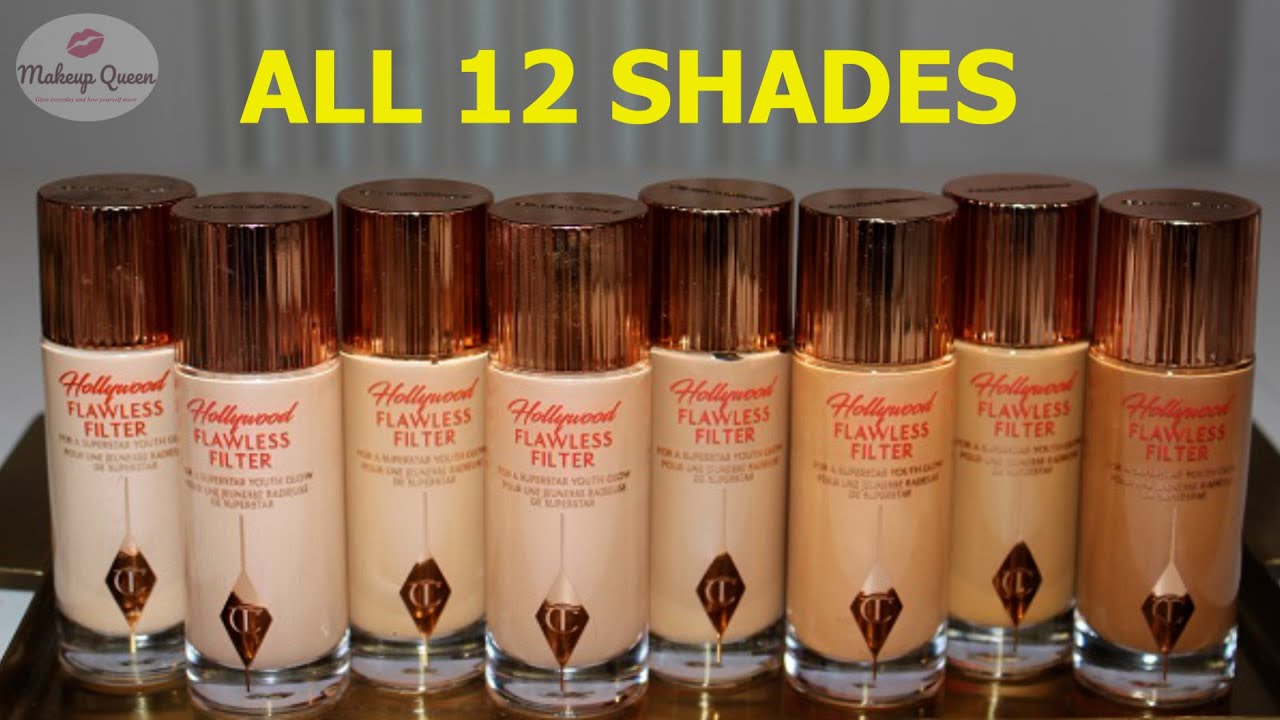
Shade Range and Undertones
Eight shades cover most skin tones, though deeper complexions have fewer options.
Champagne Glow (shade 2) works for light to medium skin with neutral undertones. It’s the most popular.
Lighter shades lean peachy, deeper shades tend warmer. No true cool-toned options exist in the range.
Pick your match based on whether you’re using it all-over or just as targeted highlighting technique.
Finish and Coverage Level
The glow sits somewhere between subtle shimmer and full strobing technique.
Coverage? Sheer. Maybe 10-15% opacity when applied straight. You’ll still see freckles, redness, pores underneath.
Layer it and you can push to light coverage, but that’s when it starts looking shiny instead of radiant.
Skin Type Compatibility
Oily skin gets about 3-4 hours before things slide. The T-zone will betray you first.
Dry skin loves this. The glycerin content helps with skin texture issues and keeps complexion products from clinging to flaky patches.
Combination skin needs zone-specific application. Full face? You’ll look greasy by lunch.
Mature skin benefits from the blurring effect on fine lines, but avoid direct application over deep wrinkles.
Application Tools
Your fingers warm the product and give the most natural finish. That’s how most makeup artists use it.
Dense synthetic brushes (like the Sigma F80) buff it in for more coverage. Stippling brushes create an airbrushed look.
Damp beauty sponges sheer it out and blend edges seamlessly. A dry sponge absorbs too much product.
Longevity and Wear Time
Expect 4-6 hours of that lit-from-within glow before it starts breaking down.
Setting spray extends wear but kills some of the dewy makeup look you’re going for.
Touch-up application works better than powdering. Just tap more product on high points of face.
The formula separates in the bottle. Shake before use every single time.
Ingredient Composition
Hyaluronic acid provides the skincare makeup hybrid claim. It’s there, but not enough to replace your actual serum.
Silicones (dimethicone, cyclopentasiloxane) create that smooth, blurring effect on skin preparation.
Light-reflecting pigments (mica, titanium dioxide) give the glow. Not glitter, not shimmer particles you can see individually.
Some people break out from the dimethicone content. Patch test if you’re acne-prone.
Preparing Skin Before Application
Skin Cleansing Requirements
Start with clean, dry skin. Obvious but worth saying.
Oil residue from cleansing prevents proper adhesion. Pat dry completely before moving forward.
Moisturizer Compatibility
Let your moisturizer sink in for 2-3 minutes minimum. Wet skin dilutes the formula and kills the glow.
Heavier creams need 5 minutes. Light gel moisturizers? You can move faster.
Occlusive balms and Flawless Filter don’t mix well. The product slides around instead of setting.
Primer Necessity
When using Flawless Filter as your highlighter over foundation, a separate primer underneath helps applying foundation last longer.
Skip primer when mixing Flawless Filter with foundation. Too many silicone layers create pilling.
As a standalone primer replacement? It works for normal to dry skin. Oily types need a mattifying primer first, then Flawless Filter only on high points.
Wait Time Between Products
Foundation over Flawless Filter: wait 60 seconds for it to set slightly.
Flawless Filter over foundation: apply while foundation is still tacky. Better blending, no harsh lines.
Powder products need 30 seconds after application or you’ll get streaky patches.
Skin Texture Considerations
Visible pores? This settles into them when applied too heavily. Use a pore-filling primer first on problem areas.
Active breakouts show through. The formula won’t irritate them, but it highlights texture rather than hiding it.
Peeling skin from exfoliating lips naturally or face treatments? This will emphasize every flake. Fix your skin barrier first.
Application Methods for Different Results

Mixing with Foundation
Ratio matters. One pump Flawless Filter to three pumps foundation gives subtle luminosity. Equal parts looks too wet.
Mix on the back of your hand, not your palm. Warmer surface, better blending of the two formulas.
Silicone-based foundations blend seamlessly. Water-based formulas sometimes separate or feel slippery during application.
The mixture reduces foundation coverage by about 20-30%. Factor that in when choosing lip liner… wait, wrong product. When choosing your foundation match.
Apply the mixture with a damp BeautyBlender for the most natural finish. Stipple and bounce, don’t drag.
Build coverage in thin layers. One thick layer looks mask-like and emphasizes every skin texture flaw.
Using as Primer
Pump once for full face. That’s all. More creates slip and makeup won’t grab.
Apply with fingers in upward motions. Focus on areas where you want that extra glow to show through complexion products.
Let it dry down 60-90 seconds before applying makeup. It should feel tacky, not wet.
Skip your usual face primer completely. Layering both creates too much slip and your foundation will move around all day.
Powder foundation over this? Patchy disaster. Stick to liquid or cream formulas.
Applying as Highlighter
This is where it shines (literally).
Target zones: Cheekbones, nose bridge, cupid’s bow, brow bone, inner corner of eyes.
Use your ring finger. Lightest touch, most control for precise placement on facial contours.
Tap (don’t swipe) product onto skin. Swiping drags your foundation underneath and creates muddy patches.
Build intensity with multiple light layers. One heavy application looks striped and obvious.
Blend edges immediately with clean fingertip or damp sponge. Harsh lines ruin the natural radiance effect.
Spot Highlighting Technique
Forget broad application. Think strategic placement on specific facial points.
Top of cheekbones: place product directly on the high point, blend upward toward temples in a C-shape.
Nose bridge: thin line down center only. Blend side to side to avoid a white stripe down your face.
Cupid’s bow: tiny dot, blend toward lip liner edges. Makes lips look fuller without obvious contouring.
Brow bone: focus on the highest point directly under the arch. Skip the inner brow area unless you want to look sweaty.
Pat (never rub) for blending. Rubbing removes the product you just placed and mixes it with other makeup products underneath.
Shade Selection Guide
Champagne Glow (Shade 2)
Neutral undertone with slight warmth. Works on light to medium skin without looking ashy or orange.
Best for all-over luminosity when you want that glass skin effect.
Comparable to NARS Copacabana but less pink, closer to Becca Champagne Pop but more subtle.
Fair Shades (1 and 1.5)
Peachy undertones dominate the lighter end. Cool-toned pale skin? These might pull too warm.
Use for targeted highlighting only unless you’re genuinely fair with warm or neutral coloring.
Medium Shades (3 and 4)
Golden undertones here. Medium tan skin with warm coloring gets the most natural glow.
Olive skin tones should test carefully. The warmth can clash with green undertones.
Deep Shades (5 and 6)
Limited selection frustrates deeper complexions. Shade 6 works for medium-deep but true dark skin needs aren’t met.
Rich, bronze finish works well as highlighter but might look ashy as all-over application on very dark skin.
Best use case: targeted highlighting on cheekbones and nose bridge rather than mixing with foundation.
The undertones lean more copper than true neutral. Deep cool-toned skin might want to explore options from Fenty or Black Opal instead.
Tools and Application Techniques

Finger Application
Warmth from your skin melts the product slightly, creating the smoothest blend into your complexion.
Pat and press motions work better than rubbing. Rubbing removes product you just placed and disrupts any makeup base underneath.
Wash hands first. Oil and bacteria transfer directly to your face and into the bottle when you touch the applicator.
Brush Application
Stippling Brushes
Duo fiber brushes (light and dark bristles mixed) give airbrushed luminosity without obvious shimmer particles.
Bounce the brush on skin instead of sweeping. Sweeping creates streaks and moves foundation around.
Dense Synthetic Brushes
Flat-top kabuki or buffing brushes push product into pores for more coverage and longer wear time.
Best when mixing with foundation or using as primer base. Too intense for pure highlighting technique.
Bristle Density Impact
Looser bristles sheer out the formula. Tighter bristles deposit more product and create concentrated glow.
Real Techniques face brushes hit the sweet spot between the two extremes for most users.
Clean brushes after every 2-3 uses minimum. Product buildup makes application patchy and harbors bacteria.
Sponge Application
Damp vs Dry Condition
Damp sponge (squeeze out excess water until barely moist) gives the most natural, seamless blend with zero harsh edges.
Dry sponges absorb 40-50% of the product. Wasteful and creates uneven coverage with visible texture.
Bounce Technique
Stipple and bounce only. Never drag or swipe a sponge across your face when applying makeup with a sponge.
Press firmly on high points of face for more intensity, lighter pressure for subtle luminosity.
Start at the center of where you want glow, bounce outward to blend edges invisibly.
Product Absorption Issues
Beauty sponges eat product. You’ll use double the amount compared to finger application.
Silicone sponges don’t absorb but create a slippery, hard-to-control application. Skip them for this formula.
Replace beauty sponges every 3-4 weeks. Old sponges get dense and stop blending properly.
Combining with Other Products

Foundation Compatibility
Silicone-Based Foundations
Perfect match. Both have dimethicone as a primary ingredient so they meld together seamlessly.
Charlotte Tilbury’s own foundations, Estee Lauder Double Wear, NARS foundations all work beautifully mixed or layered.
Water-Based Foundations
Trickier. The formulas can separate or create a slippery mess during blending motion.
If mixing, add Flawless Filter slowly and test on your hand first. Some water-based formulas handle it fine, others pill immediately.
Better to use Flawless Filter as primer underneath or highlighter on top rather than mixing directly.
Powder Foundations
Don’t. Just don’t try this combination.
The wet, emollient formula and dry powder repel each other like oil and water. You get patchy, streaky disaster.
Cushion foundations work better but still not ideal. Stick to liquid or cream formulas.
Setting Products
Powder Interaction
Translucent powder over Flawless Filter kills about 60% of the glow. You’re left with a subtle sheen instead of full radiance.
Baking technique? Forget it. You’ll have a matte, caked finish that defeats the entire purpose of this product.
Powder only the T-zone on oily skin, leave highlighted areas untouched for maximum glow.
Setting Spray Compatibility
Dewy setting sprays (MAC Fix Plus, Urban Decay All Nighter) preserve the luminous finish while adding longevity.
Matte setting sprays dim the glow significantly. Use only if oil control matters more than maintaining that lit-from-within effect.
Spray from 10-12 inches away, let it dry naturally. Patting or rubbing disrupts the carefully placed product underneath.
Longevity Impact
Setting products extend wear time by 2-3 hours but reduce the intensity of light-reflecting particles by about half.
Your choice: brighter glow for 4-5 hours or subtle sheen for 7-8 hours. Can’t have both.
Blotting papers work better than powder for touching up shine while keeping the dewy makeup look intact.
Other Highlighters
Layering Sequence
Cream products go first, powder products second. Always.
Apply Flawless Filter to skin, let it set 30 seconds, then add powder highlighter on the highest points only.
Reversed order (powder first) creates a muddy, textured mess that emphasizes skin texture instead of smoothing it.
Product Type Combinations
Cream over cream intensifies the glow. Use a more pigmented cream highlighter like NARS Copacabana over Flawless Filter for serious luminosity.
Powder over cream adds dimension and a slightly different finish. The powder catches light differently than the cream base creates.
Liquid highlighters like Charlotte Tilbury’s Beauty Light Wand layer beautifully but make sure the base is completely dry first.
Intensity Building
Start sheer with Flawless Filter as your base glow, add a second targeted product only where you want extra pop.
Overdoing it crosses from glowing to greasy looking. Less is more once you’re layering multiple highlighting products.
Texture Mixing Cautions
Too many emollient products create slip and nothing sets properly. Your carefully applied applying cream highlighter will slide down your face by midday.
Stick to two products maximum: Flawless Filter plus one additional highlighter in strategic spots.
Skin Type Specific Applications
Oily Skin
Amount Adjustment
Half pump for full face. One full pump turns you into an oil slick within two hours.
Focus product on areas that don’t typically get oily: cheekbones, brow bone, bridge of nose only.
Application Zones to Avoid
Skip the entire T-zone (forehead, nose, chin) unless you’re photographing and need temporary glow.
Under-eye area on oily skin plus this product equals creasing by hour three. Use a matte concealer there instead.
Setting Requirements
Translucent powder on oily zones is non-negotiable. You need applying setting powder on the forehead and nose minimum.
Matte setting spray or nothing. Dewy sprays add too much additional shine and reduce wear time to 2-3 hours.
Longevity Expectations
4 hours maximum before touch-up application becomes necessary. The glow breaks down as your natural oils surface.
Blotting papers remove excess shine without removing the product completely. Pat gently on oily zones only.
Dry Skin
Prep Requirements
Heavy moisturizer 5 minutes before application. The product adheres better to well-hydrated skin and enhances the dewy finish.
Face oil underneath works beautifully for very dry skin. Let it absorb fully before adding Flawless Filter.
Application Benefits
The glycerin content provides actual hydration, not just the illusion of it. Helps with skin texture and keeps keeping lips moisturized with matte lipstick… wait, wrong area.
Dry patches that usually grab foundation? This smooths them and creates an even canvas for complexion products.
Amount Recommendations
Use liberally. One full pump for face, build up to 1.5 pumps if needed for all-over luminosity.
More product on dry skin doesn’t look greasy. It looks healthy and radiant.
Reapplication Timing
Touch up around hour 6-7 when the initial application starts looking dull. Dry skin absorbs the hydrating ingredients first.
Add a tiny amount to high points, blend with fingertips. No need to remove existing makeup base.
Combination Skin
Zone-Specific Application
Dry zones (usually cheeks, around nose): full coverage with Flawless Filter as primer or mixed with foundation.
Oily zones (forehead, nose, chin): minimal product, only as highlighter on specific high points if at all.
Never apply the same amount uniformly across combination skin. You’ll look half-matte, half-greasy.
Amount Variation by Area
Cheeks get one full pump distributed between both sides. T-zone gets the tiniest dab just on the bridge of nose.
Under-eyes depend on your specific combination pattern. Dry under-eyes can handle it; oily ones can’t.
Targeted Placement
Map your face zones before applying blush on different face shapes. Know exactly where you’re dry versus oily.
Apply product only to dry zones initially. Add minimal amounts to oily areas only for photos or special occasions.
Balance Techniques
Set oily zones with powder immediately after application. Leave dry zones untouched for maximum glow contrast.
The goal is unified luminosity, not uniform application. Different zones need different approaches.
Mature Skin
Fine Line Considerations
The product settles into fine lines when applied too heavily. Use sparingly, build gradually if you want more coverage.
Avoid crow’s feet area completely. Light-reflecting particles emphasize every tiny line around eyes.
Smile lines (nasolabial folds) need special care. Pat product above and below the fold, never directly into it.
Application Technique Modifications
Tap and press gently. Rubbing or pulling skin during blending motion creates more lines temporarily and looks worse.
Use a damp sponge for the softest application that won’t disturb delicate skin or emphasize texture.
Set high-movement areas (around mouth, eyes) with the lightest dusting of translucent powder to prevent product migration.
Amount Guidelines
Less than you think. Start with half pump, add more only if needed for luminous effect.
Mature skin shows texture issues more readily. Heavy application draws attention to every pore and line.
Focus on bone structure (cheekbones, temples, bridge of nose) where skin is tighter and smoother.
Areas to Emphasize/Avoid
Emphasize: Tops of cheekbones, center of forehead, chin, collarbone if exposed.
Avoid: Under eyes (shows every fine line), directly on crow’s feet, nasolabial folds, any area with deep wrinkles.
The key is creating strategic glow that lifts the face visually rather than coating everything uniformly.
Common Application Mistakes
Applying Too Much Product
One pump is enough for most faces. Two pumps enters reflective disco ball territory.
Heavy application doesn’t intensify the glow, it just makes you look oily and emphasizes every skin texture flaw.
Specific Amounts
Full face primer: 1 pump maximum.
Mixing with foundation: 0.5 pump Flawless Filter to 2-3 pumps foundation.
Targeted highlighting: rice grain size per cheekbone.
Wrong Shade Selection
Too light creates an ashy, grey cast that photographs terribly and looks chalky in person.
Too dark adds muddy, orange tones that clash with your foundation match and look dirty instead of glowing.
Test shades in natural daylight, not fluorescent store lighting. What looks perfect inside might be completely wrong outdoors.
Improper Blending Results
Harsh lines where glow starts and stops scream “I’m wearing highlighter” instead of “My skin naturally glows.”
Unblended edges on the nose create a white stripe down the center. Blend side to side, not just up and down.
Forgetting to blend at the hairline leaves visible product that transfers to hair and looks like buildup.
Tool Selection Errors
Fluffy powder brushes don’t work with this creamy formula. They skip and create patchy, uneven application.
Fingers work for most people but if your hands are cold, warm the product on the back of your hand first.
Using the same brush for Flawless Filter and powder products without cleaning makeup brushes between creates texture and blending issues.
Layering Sequence Problems
Powder before cream never works. Cream products (including this) won’t adhere to powdered skin.
Setting spray before Flawless Filter creates a barrier. Product sits on top instead of melding with skin.
Correct order: Moisturizer, Flawless Filter, foundation, concealer, cream products, powder products, setting spray.
Setting Product Conflicts
Baking over Flawless Filter turns you matte. The thick powder layer completely cancels the dewy finish.
Heavy powder application creates texture and emphasizes dry patches that the product was supposed to smooth.
Matte primers under Flawless Filter fight each other. Use a hydrating or luminous primer if you’re using one at all.
Longevity and Touch-Up Methods
Wear Time by Application Method
As primer: 6-8 hours before foundation starts breaking down on top of it.
Mixed with foundation: 5-7 hours for the blended formula, less on oily skin.
As highlighter over foundation: 4-6 hours before the glow fades to subtle sheen.
Finger application lasts slightly longer than sponge because you’re not absorbing product into tools.
Fading Patterns
High points fade first since they get touched most (phone against cheek, resting chin on hand).
The T-zone on oily skin shows fading within 3-4 hours as natural oils break down the formula.
Dewy finish gradually shifts to natural-looking skin, then to flat matte if you don’t touch up.
Touch-Up Timing
First touch-up around hour 4-5 for all-day wear. Just hit the high points that have gone flat.
Oily skin needs checking at hour 3. Blot first, then decide if you need more product or just oil removal.
Special events lasting 8+ hours require a mid-event touch-up for consistent glow in photos.
Reapplication Technique
Don’t add product over heavy powder. Mist applying setting spray first to slightly dampen the surface.
Tiny amount on fingertip, tap onto the highest point of cheekbones and nose bridge only.
Press and pat, never rub. Rubbing removes the makeup underneath and creates patchiness.
Product Breakdown Signs
Glow disappears completely, leaving flat skin where you had luminosity.
Visible separation or texture where the product has broken down unevenly across your face.
Makeup looks heavy or cakey in areas where Flawless Filter has mixed with oils and oxidized.
Storage and Product Maintenance

Shelf Life After Opening
12 months after first use. Write the date on the bottle so you remember.
The formula starts separating more frequently after 8-9 months. Still usable but requires more shaking.
Storage Temperature
Room temperature away from direct sunlight. Heat exposure changes the consistency permanently.
Don’t store in bathroom if it gets steamy. Humidity affects the formula and introduces bacteria.
Separation Issues
Normal. The light-reflecting particles and liquid base naturally separate when sitting still.
Shake vigorously for 10-15 seconds before every use. You’ll hear the metal mixing ball inside.
If shaking doesn’t remix it after 30 seconds of effort, the product has expired.
Shake Requirements
Every. Single. Time. Even if you used it yesterday.
Without shaking, you either get clear liquid (all base) or thick product (all pigment and particles). Neither works properly.
Ten good shakes minimum before pumping product out.
Contamination Prevention
Never pump product directly onto dirty fingers or used brushes. Bacteria transfers into the bottle.
Pump onto the back of your clean hand, then pick up with your tool or fingers.
If the applicator touches your face by accident, wipe it with alcohol before putting it back in the bottle.
Keep the bottle opening clean. Product buildup around the pump gunks up and harbors bacteria.
Comparing Application Methods Results
Natural Glow vs Intense Highlight
Natural glow: mix with foundation (1:3 ratio), apply all-over with damp sponge for subtle luminosity.
Intense highlight: apply straight to high points with fingers, don’t blend completely, add powder highlighter on top for maximum dimension.
The difference is about control and placement, not just amount of product.
All-Over Luminosity vs Targeted Highlighting
All-over: mix with foundation or use as primer for glass skin effect that’s visible from every angle.
Targeted: precise placement only on facial contours that catch natural light (cheekbones, nose, cupid’s bow, brow bone).
Your skin type determines which approach works. Oily skin should always go targeted only.
Dewy Finish vs Subtle Sheen
Dewy finish: skip setting powder completely, use 1+ pump applied with fingers, add dewy setting spray.
Subtle sheen: dust translucent powder over most of face, leave small highlighted areas untouched, use matte setting spray.
Subtle sheen photographs better and lasts longer. Dewy finish looks better in person but has shorter wear time.
Foundation-Mixed vs Standalone
Mixed: more natural, harder to mess up, forgiving on texture, wears evenly as it fades.
Standalone (as primer or highlighter): more dramatic, requires better blending skills, can look patchy on textured skin, fades unevenly.
Beginners should start with mixing. You can’t really overdo it and the results look natural even when application isn’t perfect.
Different Tool Outcomes
Fingers: Most natural, seamless blend, warmest finish, lasts longest.
Damp sponge: Sheerest application, most forgiving on texture, uses most product.
Dense brush: Highest coverage, most buildable, best for mixing with foundation on the go.
Stippling brush: Most airbrushed effect, great for photography, takes practice to master.
Match your tool to your desired result and skill level. No single “best” method exists.
FAQ on How To Use Charlotte Tilbury Flawless Filter
Can you wear Flawless Filter alone without foundation?
Yes, on good skin days. Apply one pump with fingers for sheer coverage and luminous finish.
Works best on normal to dry skin. Oily skin types need powder on the T-zone or you’ll look greasy within three hours.
Do you apply Flawless Filter before or after foundation?
Depends on the look. Mix it with foundation for all-over glow, apply before as primer base, or after as targeted highlighting technique.
Most makeup artists layer it after foundation on high points only for controlled radiance without losing coverage.
How much Flawless Filter should I use?
One pump maximum for full face as primer. Half pump when mixing with foundation.
Rice grain size per cheekbone for highlighting. More product doesn’t mean more glow, it means looking oily and emphasizing every skin texture flaw.
Can you mix Flawless Filter with moisturizer?
Yes, but it dilutes the light-reflecting particles significantly. You’ll get hydration with minimal glow.
Better to apply moisturizer first, wait two minutes for absorption, then add Flawless Filter for full luminosity without compromising the dewy makeup look.
Does Flawless Filter work on oily skin?
Barely. Use sparingly only on cheekbones and nose bridge, never the T-zone.
Set oily areas with translucent powder immediately. Expect four hours maximum wear time before natural oils break down the formula and create shine.
Should you set Flawless Filter with powder?
Only if you have oily skin or need extended wear time. Powder reduces the glow by 60% but adds three hours of longevity.
Dust powder only on zones prone to oil. Leave highlighted areas untouched to preserve the radiant skin effect.
What’s the best way to apply Flawless Filter?
Fingers give the most natural finish because warmth melts the formula into skin seamlessly.
Damp beauty sponges work for sheer application. Dense synthetic brushes provide more coverage when mixing with foundation or using as complexion enhancer.
Can you use Flawless Filter as highlighter?
That’s its best use. Apply to cheekbones, nose bridge, cupid’s bow, and brow bone after foundation.
Tap product with your ring finger, blend edges immediately. Build intensity with multiple thin layers rather than one heavy application for natural luminosity.
How do you keep Flawless Filter from looking greasy?
Use less product than you think. One pump is too much for most faces.
Apply strategically to high points only, skip oily zones completely, and set the T-zone with powder while leaving highlighted areas bare.
Does Flawless Filter replace primer?
For dry to normal skin, yes. It provides light blurring and creates a smooth makeup base.
Oily skin still needs mattifying primer underneath. Combination skin should use primer on the T-zone, Flawless Filter on dry areas only for balanced complexion products.
Conclusion
Knowing how to use Charlotte Tilbury Flawless Filter correctly separates glowing skin from greasy mistakes. The application method matters more than the product itself.
Your skin type determines everything. Oily complexions need strategic placement and powder, while dry skin handles liberal amounts mixed with foundation.
Master the basics first: proper mixing ratios, finger warming technique, and knowing when less product creates better luminosity. Stop applying it everywhere hoping for glass skin effect.
The right tools change results completely. Damp beauty sponges sheer it out, dense brushes build coverage, fingers create the most natural radiance on facial contours.
Start with targeted highlighting on cheekbones and nose bridge before attempting all-over application. Build your confidence with the formula, then experiment with different complexion enhancer techniques once you understand how it behaves on your specific skin texture.

She started writing on the site after fielding the same questions from clients and friends often enough to just write the answers down: which red won't turn orange on a warm undertone, how to keep lipstick from feathering into fine lines, why a "12-hour" formula rarely survives dinner.
Every review on the site follows the same rule she uses with paying clients: wear it first, then decide if it's worth recommending.
- How to Choose Setting Powder for Your Skin Type - August 1, 2026
- How Long Does Eyeliner Last Before It Expires? - July 28, 2026
- What Is Contour and How Do You Apply It? - July 25, 2026


