

Most people have been applying mascara the same way since they were a teenager. And most people are doing at least one thing wrong.
Knowing how to apply mascara correctly is the difference between lashes that hold their curl all day and a smudged mess by noon. Formula choice, wand technique, coat timing, and eye shape all affect the final result.
This guide covers everything: the right tools, step-by-step mascara application for upper and lower lashes, how to match formulas to your lash type, common mistakes, and how to remove mascara without breaking lashes. Whether you have hooded eyes, sparse lashes, or a waterproof formula you can never fully get off, there is something here for you.
What Mascara Application Actually Does

Mascara is a cosmetic product applied to the eyelashes to darken, thicken, lengthen, or curl them. The result depends almost entirely on formula type and how you use the wand. Get the technique wrong, and even the best mascara will clump, flake, or smudge by midday.
Mascara held 34.9% of the global eye makeup market revenue in 2023, making it the top-selling eye product worldwide (Grand View Research). That number makes sense. It’s the one step most people refuse to skip, even on no-makeup days.
What the mascara coat actually does at the lash level:
- Pigment deposit: Carbon black or iron oxides coat the lash shaft, making lashes darker and more visible
- Film-forming polymers: These create the “hold” that keeps lashes curled or lifted after application
- Wax base: Adds body and builds volume coat by coat
- Conditioning agents: Some formulas include peptides or vitamin E to reduce lash breakage over time
The mascara wand shape is not cosmetic. A curved bristle brush lifts while coating; a straight comb wand separates without adding bulk. Choosing the wrong brush for your lash type is one of the most common reasons application doesn’t land the way you expect.
Estee Lauder introduced a lash-conditioning mascara with peptides and vitamin E in 2023. It saw a 12% increase in repeat purchases among users aged 25 to 44 (Market Growth Reports). Conditioning formulas are becoming a real segment, not just a marketing claim.
Tools You Need Before You Start
Most mascara mistakes happen before the wand even touches a lash. The right tools make the difference between a clean application and a clumpy mess you spend ten minutes fixing.
| Tool | Purpose | When It Matters Most |
|---|---|---|
| Manual eyelash curler | Lifts and curls lashes before coating | Straight or downward-pointing lashes |
| Heated eyelash curler | Sets a more lasting curl | Lashes that drop curl quickly |
| Spoolie brush | Separates and combs through coats | Between coats to break up clumps |
| Lash primer | Adds base coat for volume and hold | Sparse or short lashes |
| Cotton swab | Removes smudges and fallout | After mascara dries completely |
The spoolie is the tool most people already own but forget to use mid-application. Running it through lashes between coats breaks apart wet clumps before they dry. It takes five seconds and makes a visible difference.
Advanced brush technology for better lash separation is now listed as one of the key innovation drivers in the mascara market (Research and Markets). Brands are catching on to what makes or breaks the actual application experience.
One thing people skip constantly: wiping the mascara wand on the tube opening before applying. That thick glob of product at the tip is what causes clumps. Wipe it. Always.
How to Curl Your Lashes Before Applying Mascara

Curl before mascara. Never after. Applying a curler to dry mascara snaps lashes. This is not debatable.
Shiseido’s eyelash curler remains one of the most-used professional tools for a reason. The curved clamp fits most eye shapes and applies even pressure across the lash line without pinching.
Manual Curler Technique
Place the curler at the very base of the lashes, as close to the lid as possible without pinching skin. Hold for 5 seconds. Move the curler to the mid-shaft. Hold again for 3 seconds. Finish at the tips for 2 seconds.
This staged approach creates a gradual curve rather than a sharp bend. A single clamp at the base gives a crimped look, not a curl.
Heated Curler Option
Heated curlers hold the curl longer because they work the same way a hair iron does. They set the protein structure of the lash temporarily. Worth using if your lashes are pin-straight and lose curl within the first hour of the day.
The heated curler market is growing alongside demand for longer-lasting eye looks. Consumers in humid climates especially reach for heated options because the result holds better when moisture is in the air.
Why the Curl Step Affects Mascara Wear
Curled lashes hold mascara at a lifted angle throughout the day. Flat, uncurled lashes point the product downward, which is part of why mascara ends up under the eyes by noon.
It also means less product needed overall. A well-curled lash looks longer with one coat than a flat lash with three.
How to Apply Mascara Step by Step
The mascara application process has a specific order that matters. Skipping steps or rushing between coats is what causes flaking, clumping, and transfer.
Upper Lashes
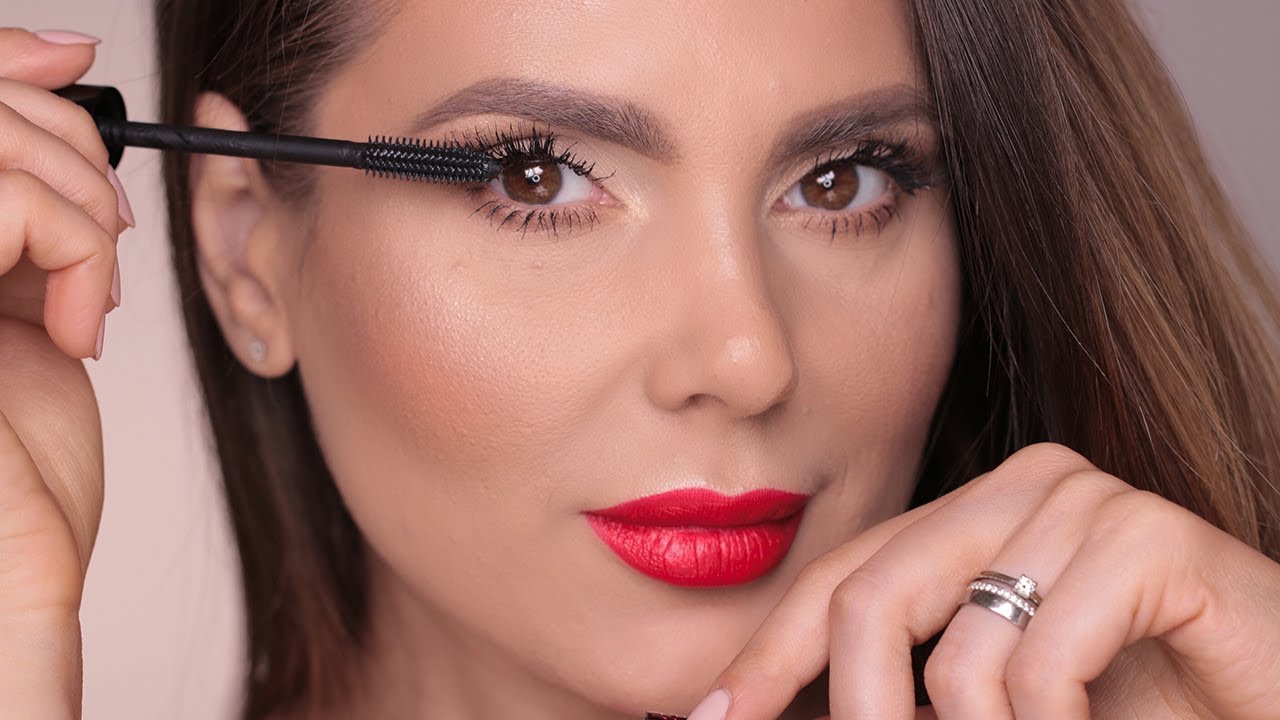
Wipe excess product off the wand before it touches your lashes. Start the wand at the lash root and use a slight side-to-side wiggle as you pull upward. The wiggle coats the base of each lash and separates them before you reach the tips.
One coat is usually enough for daytime. Let it dry for 30 to 60 seconds before adding a second. Layering wet mascara on wet mascara creates clumps that dry in place.
For volume, use the spoolie between coats. For length, apply the second coat with the wand held vertically so the tip of the brush combs through each lash individually.
Lower Lashes
Hold the wand vertically for lower lashes. The tip of the brush gives you control over each small lash without smearing product onto the skin below the eye.
Lower lash application is where most beginners smudge. Two things help: a lighter hand than you use on upper lashes, and waiting until the upper lashes are completely dry first.
Skip lower lashes entirely if you have deep-set eyes or heavy under-eye circles. The mascara draws attention downward and can close the eye rather than open it.
Hard-to-Reach Inner and Outer Corner Lashes
Inner corner lashes are small and easy to miss. Tilt the brush to a near-horizontal angle and use just the tip. Two or three strokes is enough. Overloading them clumps fast.
Outer corner lashes, by contrast, are where you want to add emphasis. Fan the brush outward and slightly upward on the outer third to create a lifted, wide-eye effect.
Mascara Formulas and What They Actually Do

The mascara formula you choose shapes the final look more than the application technique. Volumizing, lengthening, curling, waterproof, tubing: these are genuinely different products with different results. Using a lengthening formula when you want volume will always disappoint.
55% of mascara users globally prefer waterproof variants over all other types (Business Research Insights). That’s a majority, and it tracks. Waterproof holds up better in humidity, during physical activity, and through long wear days.
| Formula Type | Key Ingredient | Best For | Drawback |
|---|---|---|---|
| Volumizing | High wax content | Thin or sparse lashes | Can feel heavy in multiple coats |
| Lengthening | Fibers or polymers | Short lashes needing extension | Less volume, needs curler first |
| Waterproof | Film-forming polymers | Humid climates, long wear | Harder to remove, can dry lashes |
| Tubing | Water-resistant tubes | Sensitive eyes, easy removal | Less dramatic look than wax-based |
| Curling | Flexible polymers | Lashes that lose curl quickly | Less volume than volumizing |
Tubing mascara is worth calling out specifically. It forms a small tube around each lash rather than coating it with pigmented wax. The result removes cleanly with warm water, which makes it ideal for contact lens wearers or anyone who struggles with clumpy mascara from traditional formulas.
Volumizing mascaras lead the market with 35% market share by product type, and the volumizing segment is projected to grow at an 8.6% CAGR, the highest of any mascara category (Allied Market Research).
Waterproof formulas are trickier to remove. They need an oil-based remover or a dedicated waterproof makeup remover rather than micellar water alone. Using the wrong remover and rubbing harder is exactly how lash breakage happens.
How to Fix Mascara Mistakes Without Ruining Your Makeup

The most important rule: wait for mascara to dry before touching it. Smearing wet mascara turns a small dot into a streak across your under-eye. Patience here saves you a full eye makeup redo.
Fixing Smudges Under the Eye
Let the smudge dry completely. Then take a dry cotton swab and press it against the smudge with light pressure. The dry product lifts off without pulling at foundation or concealer underneath.
A wet cotton swab will spread the pigment. Reserve the wet swab for after the smudge is fully gone, to clean any remaining residue at the lash line.
Dealing with Clumps on the Wand
Clumps start at the wand, not the lash. If the brush has a large buildup of product at the tip or between the bristles, wipe it clean before each stroke. A clean spoolie also helps: press it against the clumped lash while the product is still wet, then pull through gently.
Pumping the wand in and out of the tube is the single biggest cause of clumped product. It pushes air into the tube, dries out the formula faster, and loads the brush unevenly. Pull and twist instead.
Removing and Restarting
Sometimes the coat just goes wrong and restarting is faster than fixing. Use a cotton pad soaked in eye makeup remover and press gently against the lashes for 10 seconds before wiping downward. Do not rub sideways.
For waterproof formulas specifically, the press-and-hold method protects lashes. Rubbing sideways pulls lashes out at the root, especially with repeated use over time.
Common Mascara Application Mistakes
Most mascara issues are self-inflicted. The product usually isn’t the problem. Technique is.
In a study of 128 mascara users, 19% experienced lash loss connected to their mascara routine, with improper removal identified as the primary cause (Lilac St.). The application errors that set up that damage happen well before removal.
Mistakes That Cause Clumping and Flaking
Pumping the wand: pushing the brush in and out of the tube forces air inside, drying the formula faster and loading the brush unevenly.
Skipping the wipe: the glob of product at the wand tip goes straight onto lashes and dries as a clump. Wipe it on a tissue before every stroke.
Layering too fast: wet mascara on wet mascara sticks lashes together before separation is possible. Wait 30 to 60 seconds between coats.
Amore Pacific’s development of a micro-sculpting brush design in 2023 led to a 20% increase in product ratings online, largely because better brush separation reduced the clumping issue at the source (Market Growth Reports).
Mistakes That Cause Smudging and Transfer
Applying mascara over oily skin, undried primer, or eye cream is a fast path to transfer. The mascara has nothing dry to grip onto.
A light dusting of translucent powder on the lid and under the eye before mascara application reduces oil on the surface and gives the mascara coat something to hold. This is a real trick, not just a tip.
Two more things people skip:
- Applying upper lashes fully before touching lower lashes (looking down after smears the upper coat)
- Letting mascara sit for 15 seconds before opening eyes fully (prevents transfer to the brow bone)
Mistakes That Damage Lashes Over Time
Using expired mascara is not a minor issue. Products past three to six months accumulate bacteria, including Staphylococcus epidermidis and Pseudomonas aeruginosa, both of which can cause chronic blepharitis and lash loss (PMC/NIH research on mascara-induced milphosis).
Applying mascara before eyeshadow is another pattern that causes problems. Fallout from shadow lands on freshly coated lashes and creates texture and speckling that doesn’t clean off cleanly. Eye makeup order matters: eyeshadow first, mascara last.
Sleeping in mascara is probably the most damaging habit of all. Residue clogs lash follicles, causes inflammation, and over time shortens the natural lash growth cycle. No exceptions here.
How to Remove Mascara Without Damaging Lashes
Removal causes more lash damage than application. Rubbing at dry mascara with friction and pressure is how lashes break at the root, not from wearing the product itself.
The press-and-hold method is the right approach every time: saturate a cotton pad with remover, hold it flat against the closed eye for 10 to 15 seconds, then wipe downward once. No side-to-side. No scrubbing.
Remover Types by Formula
Oil-based removers are the only reliable choice for waterproof mascara. The oil dissolves the film-forming polymers that make waterproof formulas water-resistant. Micellar water alone rarely works and leads to more rubbing.
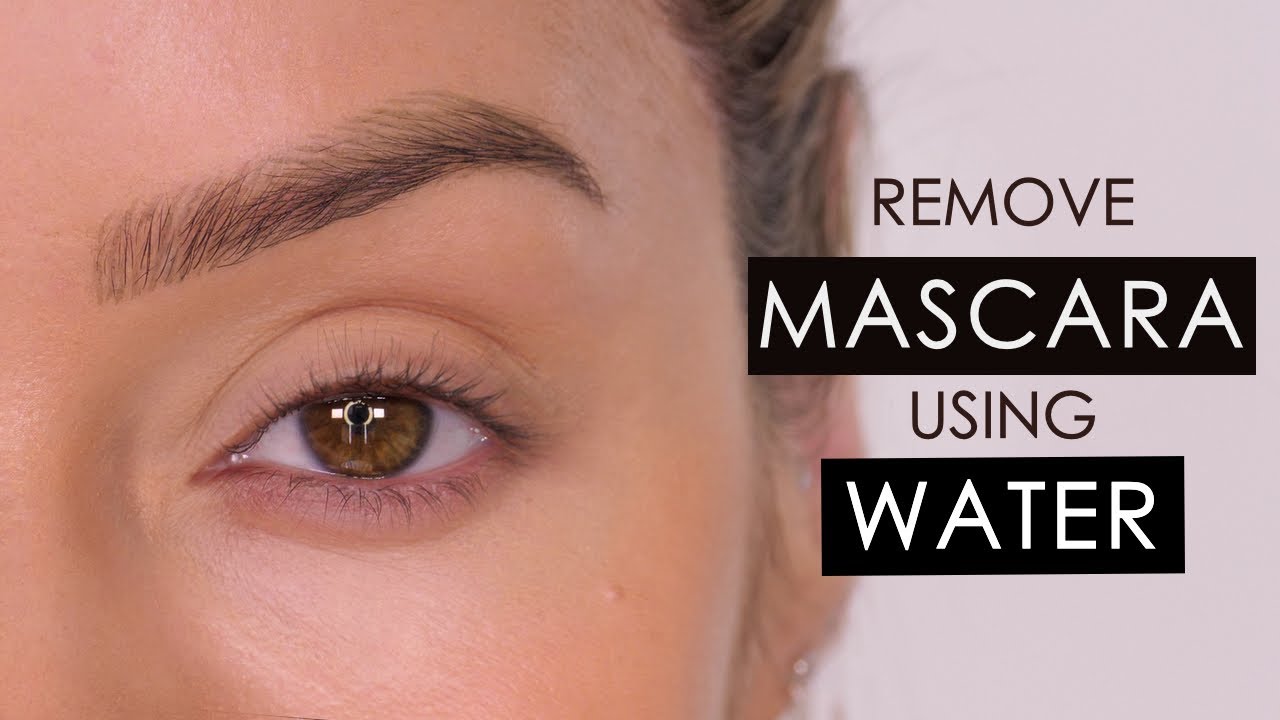
Micellar water handles regular and tubing mascaras well. Tubing mascara specifically breaks down with warm water, making it the cleanest removal experience of any formula type.
Cleansing balms work for both. Many contact lens wearers prefer them because there’s no liquid dripping near the eye. Massage the balm onto dry lashes, emulsify with water, then rinse.
Cotton Pad vs. Reusable Pad
Reusable cotton pads have more texture than disposable ones. That texture creates more friction against the lash line, which is the opposite of what you want during removal.
If you use reusable pads, saturate them more thoroughly so the softened surface does the work, not the fibers. Disposable rounds are generally the safer pick for daily mascara removal.
Why Waterproof Removal Needs More Attention
55% of mascara users prefer waterproof variants (Business Research Insights), which means the majority are dealing with the harder removal process daily. Using water alone to remove waterproof mascara is directly linked to higher rates of lash loss, per the PMC study on mascara-induced milphosis.
The fix is simple: use the right remover and give it time to work before wiping. It takes 10 extra seconds. That’s the whole difference between protecting your lashes and losing them.
If you’re dealing with general eye makeup buildup rather than mascara alone, a two-step approach works: oil-based first pass, micellar water second pass. Clean lashes mean less irritation and less long-term thinning.
Mascara for Specific Eye Shapes and Lash Types

The mascara step is where a lot of generic advice falls apart. The same wand technique that opens up almond-shaped eyes can make deep-set eyes look smaller. Eye shape changes everything.
| Eye Shape | Key Challenge | Mascara Approach | Formula Tip |
|---|---|---|---|
| Hooded | Skin fold touches lashes; easy smudge | Focus outer third; curl aggressively first | Waterproof or tubing only |
| Monolid | Lashes grow downward; limited lid space | Lengthening formula; horizontal wand angle | Waterproof to prevent transfer |
| Deep-set | Eyes appear shadowed; bottom lash draws down | Heavy upper lash emphasis; skip lower | Volumizing on upper only |
| Almond | Most forgiving shape | Full upper and lower application works | Any formula performs well |
Hooded Eyes
The extra skin fold rests against the lash line, which means mascara transfers to the lid constantly. Waterproof or tubing formula is non-negotiable here. Regular formulas smear within an hour.
Focus mascara on the outer third of the upper lash line. Fanning outward and upward creates a lifted effect without the inner lashes pressing into the hood. Curl hard first: a heated curler holds the curl away from the fold all day.
Monolid Eyes
Makeup artist Maria Ortega recommends waterproof mascara specifically for monolids. “It helps avoid smudging and also helps keep the lashes lifted,” she notes.
Avoid volumizing formulas on monolids. The added bulk clumps on limited lid space and makes lashes look grouped rather than separated. A lengthening formula with a thin, precision wand gives more definition without weighing the lash down.
Apply horizontally at the lash base, then drag upward. This technique lifts the lash away from the lid rather than pushing it outward, which is what a standard upward swipe does on lashes that grow downward.
Sparse and Straight Lashes
Sparse lashes benefit most from a two-step approach: lash primer first, then a single coat of volumizing mascara. The primer fills in gaps and gives the wax-based mascara more surface to grip.
Straight lashes require a heated curler before any mascara goes on. A manual curler alone rarely holds the curl on very straight lashes, especially in humidity. The curl is what makes the mascara coat visible. Without it, the product points the lashes downward and disappears into the lid.
For anyone curious about the lash-lengthening alternative, applying false eyelashes over a light mascara coat is a different route to fuller-looking lashes, though the mascara technique described here handles most needs without that step.
FAQ on How To Apply Mascara
Should I curl my lashes before or after applying mascara?
Always curl before. Using an eyelash curler on dry mascara snaps lashes at the root. Curl at the base, hold 5 seconds, then move to the mid-shaft. Apply mascara after.
How do I apply mascara without getting clumps?
Wipe excess product off the wand before each stroke. Use a spoolie brush between coats to separate lashes. Never pump the wand in and out of the tube. That dries the formula and loads the brush unevenly.
How many coats of mascara should I apply?
One coat works for daytime. Two coats for more volume or definition. Wait 30 to 60 seconds between each coat. Layering wet mascara on wet mascara causes clumping and flaking.
How do I apply mascara to lower lashes without smudging?
Hold the wand vertically and use only the tip. Apply a lighter coat than on upper lashes. Finish upper lashes completely first. Looking straight ahead rather than upward reduces transfer to the skin below.
What is the best mascara wand for volumizing lashes?
A thick, hourglass-shaped bristle brush deposits the most product per stroke. Volumizing mascara formulas use a wax-heavy base that builds bulk. For sparse lashes, a lash primer before application adds extra surface area for the wand to coat.
How do I stop mascara from smudging under my eyes?
Apply translucent powder under the eye before mascara. Use a waterproof formula for long wear. Let each coat dry fully before blinking hard. Oily skin speeds up transfer, so mattifying the under-eye area first makes a real difference.
How do I apply mascara for hooded eyes?
Focus on the outer third of the lash line and fan outward. Use a waterproof or tubing formula only as regular mascara transfers to the hood quickly. A heated curler before application keeps lashes lifted away from the skin fold.
How do I remove waterproof mascara without damaging lashes?
Use an oil-based remover. Press a soaked cotton pad against the closed eye for 10 to 15 seconds, then wipe downward once. Never rub sideways. Water alone does not dissolve waterproof formulas and leads directly to lash breakage.
Does mascara damage eyelashes over time?
Mascara itself does not cause lasting damage when used correctly. Rough removal, sleeping in product, and expired tubes are the actual causes of lash loss and breakage. Replace mascara every three to six months to avoid bacterial buildup.
How do I apply mascara on straight or sparse lashes?
Use a heated eyelash curler first. A manual curler rarely holds curl on straight lashes through the day. Follow with a lash primer, then one coat of volumizing mascara. The primer fills gaps and gives the wax formula more grip per stroke.
Conclusion
This conclusion is for an article presenting how to apply mascara, and the core takeaway is straightforward: technique matters more than the product in your hand.
Curl first. Wipe the wand. Let each coat dry. Match your mascara formula to your lash type and eye shape. These steps are not complicated, but skipping any one of them is what causes clumping, flaking, and smudging.
Proper removal is just as important as application. An oil-based remover, a gentle press-and-hold, and no rubbing keeps your natural lashes intact over time.
Get the basics right and mascara stops being frustrating. It becomes the fastest step in your routine.

She started writing on the site after fielding the same questions from clients and friends often enough to just write the answers down: which red won't turn orange on a warm undertone, how to keep lipstick from feathering into fine lines, why a "12-hour" formula rarely survives dinner.
Every review on the site follows the same rule she uses with paying clients: wear it first, then decide if it's worth recommending.
- How to Choose Setting Powder for Your Skin Type - August 1, 2026
- How Long Does Eyeliner Last Before It Expires? - July 28, 2026
- What Is Contour and How Do You Apply It? - July 25, 2026


