

Knowing how to sharpen a NARS lip crayon without snapping the tip is something most people figure out the hard way.
The waxy, emollient-rich formula that makes these crayons so smooth to wear is exactly what makes them tricky to sharpen. The wrong sharpener, the wrong temperature, the wrong technique and the tip breaks clean off.
This guide covers everything you need: which NARS lip pencils are actually sharpenable, the right jumbo barrel sharpener size, the freezer method, blade maintenance, and what to do when sharpening is not the right move at all.
No wasted product. No cracked tips. Just a clean, precise point every time.
What the NARS Lip Crayon Formula Requires from a Sharpener

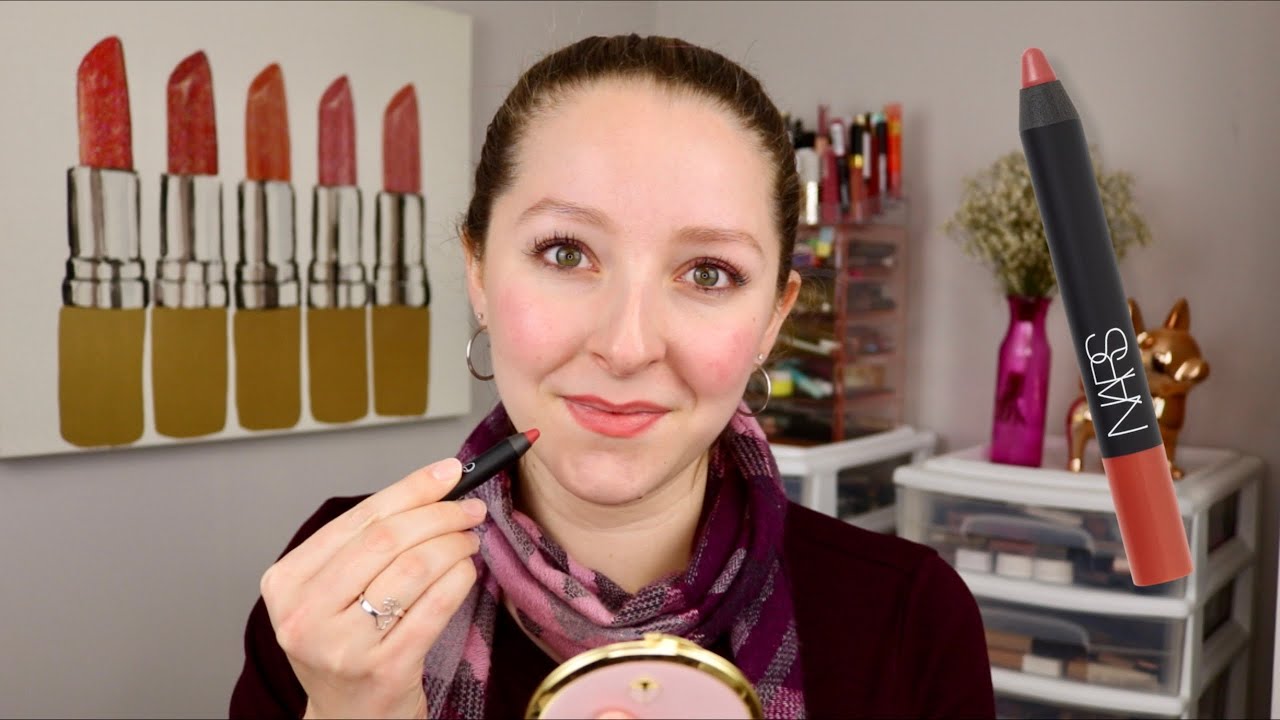
The NARS Velvet Matte Lip Pencil and Powermatte High-Intensity Lip Pencil both use a wax-based, creamy formula loaded with emollients and silicones. That texture is what makes them feel so smooth on the lips and also what makes sharpening them genuinely tricky.
The formula contains synthetic candelilla wax, polyethylene, and dimethicone. These ingredients sit at a low melting point, somewhere around 98-102°F. Friction from a dull or wrong-size blade generates enough heat to soften the formula before it shears cleanly.
A standard pencil sharpener built for wood pencils is too aggressive. The blade angle is wrong, the barrel is too narrow, and the cutting speed tears through soft crayon product instead of slicing it.
| Formula Property | Effect During Sharpening | What This Means for Your Sharpener |
|---|---|---|
| High emollient content | Softens quickly under friction | Needs a sharp, fast-cutting blade |
| Silicone-based binders | Creates a slick, waxy residue on blades | Blade must be cleaned between uses |
| Dense pigment load | Heavier shades are softer and more fragile | Darker shades need extra chill time first |
| Jumbo barrel diameter | Standard holes create uneven pressure | Jumbo or dual-barrel sharpener required |
The ingredients in lip products like these directly affect how they behave under a blade. The richer and more pigmented the shade, the more oils it contains, and the more fragile the tip during sharpening.
NARS themselves note on product pages that the Powermatte pencil should be sharpened before each use with the NARS Pencil Sharpener, sold separately, for best results. That recommendation exists for a reason.
Which NARS Lip Crayons Can Be Sharpened
Not every NARS lip pencil takes a sharpener. Getting this wrong means wasted product or a damaged casing.
Sharpenable NARS lip pencils:
- Velvet Matte Lip Pencil – wood casing, jumbo barrel, requires a cosmetic sharpener
- Powermatte High-Intensity Lip Pencil – sharpenable format, launched 2024, confirmed non-retractable
- Precision Lip Liner – wooden casing, standard slim barrel, sharpenable
Not sharpenable:
- Any NARS product with a twist or click mechanism at the base
- NARS Afterglow Lip Balm (bullet format)
The easiest check: look at the base of the pencil. If there is a flat, sealed bottom with no twist mechanism, it is sharpenable. If you see a rotating base or a dial, it is retractable and should never go near a sharpener.
Worth knowing: the original Velvet Matte line is being phased out as of 2024, with the Powermatte replacing it. Both formats are sharpenable, not retractable, which surprised some buyers expecting an upgrade to twist-up format.
If your crayon came in a gift set or mini format, check the packaging. Minis sometimes use the same non-retractable format as full-size versions, which means they still need a sharpener even at smaller sizes.
The Right Sharpener Size for NARS Lip Crayons
Barrel size is the single most important factor. Use the wrong size and the crayon either rattles around inside the hole or gets forced against the blade edge at the wrong angle. Both outcomes break the tip.
The Velvet Matte and Powermatte pencils use a jumbo barrel. They will not fit a standard slim-barrel sharpener without damage.
NARS sells a dual-blade Pencil Sharpener with two openings to handle both slim and jumbo pencil sizes. It also includes a blade cleaner and a cover to catch shavings. It is the most compatible option for NARS crayons by design.
Third-party options that work well with jumbo cosmetic pencils:
- Sephora Collection dual-barrel sharpener
- Tweezerman dual cosmetic sharpener
- Palladio 3-in-1 Double Barrel Sharpener (made in Germany, stainless steel blades)
Avoid electric sharpeners entirely. The motor speed generates heat through friction that softens the waxy crayon formula before it shears. You end up with a melted, uneven tip instead of a clean point.
Single-blade sharpeners can actually work better than dual-blade versions for soft formulas. Less blade contact means less friction, which means less heat. Stainless steel blades resist dulling better than carbon steel, which matters because a dull blade drags instead of cutting.
How to Sharpen a NARS Lip Crayon Step by Step

Chill the crayon in the freezer for 10 to 15 minutes before sharpening. This firms up the formula and significantly reduces tip breakage. Most people skip this step and then wonder why the tip keeps snapping.
Step-by-step process:
- Wipe the sharpener blade clean with a dry cotton swab or a swab dipped in isopropyl alcohol
- Remove the crayon from the freezer and work quickly before it warms up
- Insert the crayon into the correct barrel size (jumbo for Velvet Matte and Powermatte)
- Apply light, steady pressure and rotate the sharpener around the pencil rather than twisting the pencil itself
- Use short quarter-turns, then stop to check the tip
- Stop as soon as you have a usable point, do not keep going
Rotating the sharpener rather than the crayon is a technique most people never try. It gives you more control over pressure and reduces the torque on the tip that causes snapping.
What to Do if the Tip Keeps Breaking
The tip is breaking because the formula is too warm, the blade is dull, or you are applying too much pressure. Usually it is all three at once.
Dull blade: If the sharpener is dragging or chewing rather than cutting cleanly, the blade needs replacing or the sharpener needs to be tossed. No technique fixes a bad blade.
Formula too warm: Go back to the freezer. 10 minutes is the minimum. 15 is better for darker, more pigmented shades which tend to be softer.
Pressure: You are almost certainly pushing too hard. The blade does the work. Your job is to guide and rotate.
How Sharp the Tip Should Actually Be
A needle-sharp point is not the goal for a lip crayon. It is too fragile and will snap on first contact with lips.
You want a clean, defined point with a small flat area at the very tip. That flat area gives you control for lining while the sides of the tip let you fill in color. Stop sharpening when you reach that shape.
If you want a softer, more blended application, a slightly blunter tip works fine. A blunt tip is actually better for filling in lips fully without sharp definition at the edges.
Keeping the Blade Clean for a Better Sharpen

A dirty blade is a slow blade. Product buildup from previous sharpening sessions coats the cutting edge and creates drag. That drag is what causes the crayon to heat up, soften, and snap.
Clean the blade before every use, not after. Residue from the last sharpening session will transfer color onto your fresh crayon and compromise the cut.
Quick clean method: Dry cotton swab, wipe the blade in one direction. Takes 10 seconds.
Deep clean method: Cotton swab dipped in isopropyl alcohol, run it along the blade and inside the sharpener compartment. This also sanitizes the blade, which matters if you share tools or sharpen lip liner pencils close to the waterline. Let it dry before sharpening.
Avoid washing the sharpener under water. It will rust the blade, sometimes within a single day depending on the steel quality. Water and makeup tool blades do not mix.
How often to clean:
- Quick wipe: before every single use
- Isopropyl clean: once a week with regular use
- Replace sharpener: when the blade drags even after cleaning, or if you develop a lip or eye irritation that could be bacteria-related
Pencil liner shavings have a shelf life of about 12 months according to standard cosmetic expiration guidelines. The sharpener itself lasts much longer if kept clean. One clean sharpener with a sharp blade outperforms three cheap ones with clogged blades every time.
Storing the Crayon to Make Sharpening Easier

How you store the crayon between uses directly affects how easy it is to sharpen. A warm, soft crayon will break. A properly stored one sharpens cleanly.
Temperature is the main factor. Storing lip crayons in a bathroom with regular steam exposure or near a sunny window speeds up formula degradation and makes the product softer than it should be. Car glove boxes in summer are the worst offenders.
Store crayons upright when possible. Horizontal storage lets the formula settle unevenly, which can create soft spots in the barrel that cause inconsistent sharpening results.
A cool, dry drawer or a makeup organizer kept away from heat sources is fine. You do not need to refrigerate the crayon permanently, only before sharpening.
The Powermatte and Velvet Matte formulas contain dimethicone and caprylyl methicone, both of which are temperature-sensitive silicones. These are what give the formula its smooth application feel. They also mean the crayon responds quickly to heat changes, which is worth keeping in mind during summer months or if you live somewhere warm.
If you are working with a crayon that has been sitting in a warm bag all day, give it a few minutes in the freezer before attempting to sharpen. Trying to rush a warm crayon through a sharpener is how expensive lip products end up in the trash half-used.
Common Sharpening Mistakes and How to Fix Them
Most product waste happens because of the same handful of errors. None of them are difficult to fix once you know what to look for.
| Mistake | What Happens | The Fix |
|---|---|---|
| Sharpening a warm crayon | Tip softens and snaps under blade pressure | Freeze 10–15 min before sharpening |
| Wrong barrel size | Uneven pressure, lopsided or broken tip | Use jumbo barrel for Velvet Matte / Powermatte |
| Using a dull blade | Blade drags and heats the formula instead of cutting | Clean blade or replace sharpener |
| Over-sharpening | Tip becomes too fragile and snaps on first use | Stop at a defined point, not a needle tip |
| Forcing a stuck crayon | Formula cracks inside the sharpener barrel | Stop, re-chill, check blade cleanliness |
The most common one, by far, is forcing the crayon when it resists turning. Resistance almost always means either the blade is too dirty to cut cleanly or the formula is too warm. Neither problem gets better with more pressure.
Using a Pencil Sharpener Meant for Writing Pencils
Standard pencil sharpeners are built for graphite. The blade angle is steeper and the hole diameter is narrower, both wrong for soft cosmetic formulas.
Graphite residue left inside a used writing sharpener also transfers to the crayon tip, contaminating the color. A black or gray tint showing up in a nude or pink shade is a sign this happened.
In a real pinch, scissors or a small knife can shave the casing cleanly on a wood-cased pencil. Not ideal, but better than forcing a jumbo crayon into a standard sharpener hole.
Sharpening Too Often
Sharp before every single use is not always necessary. Over-sharpening a NARS crayon means losing product every time you touch it up, even when the tip is still usable.
Sharpen when: the tip is visibly blunt, flat, or creating patchy color on the lip.
Do not sharpen when: the tip still draws a clean line but just looks slightly rounded. That shape still works for filling in color.
For daily wearers, most tips need attention every 5 to 10 uses, not every single application. Sharpening lip liner and lip crayons too frequently is one of the fastest ways to burn through expensive product.
When to Skip the Sharpener Entirely

A blunt tip is not always a problem. Knowing when to work with what you have saves both time and product.
Using the Flat Edge for Fuller Coverage
A slightly blunt or flat tip actually works better for filling in the entire lip. The broader surface deposits more product per stroke, giving fuller coverage with less effort.
How to use the flat edge:
- Use the side of the tip rather than the point for filling lips
- Apply from the center outward to control coverage intensity
- Layer lightly for a stain effect, more heavily for full opacity
Fenty Beauty’s guidance for their Trace’d Out Lip Liners actually recommends using the side of the tip for a blurred, blended definition look rather than a sharp edge. The same principle applies to the NARS waxy crayon formula.
Reshaping with a Lip Brush
A lip brush can pick up product from a blunt tip and apply it with more precision than the crayon itself in some cases.
This works well when the lip crayon tip has broken unevenly and sharpening would waste too much product. Load the brush with color from the existing tip, then use it to trace the lip line before filling in with the crayon directly.
Pat McGrath Labs makeup artists use this exact technique backstage: apply the crayon broadly for color, then refine edges with a thin lip brush rather than relying on a perfectly sharp tip.
When the Sharpener Keeps Failing the Same Crayon
Some crayons just do not sharpen cleanly. Darker, highly pigmented shades like deep berries or aubergines often contain more oils in the formula, making them softer than lighter shades even at the same temperature.
If a specific shade keeps breaking regardless of chill time and blade condition, switch strategy. Use it as an all-over color applied with the blunt tip, then define edges with a matching or slightly deeper lip liner in a slimmer, easier-to-sharpen format like the NARS Precision Lip Liner.
That combination actually gives a more polished result than the crayon alone. And it stops the frustrating cycle of breaking the same shade every time you try to sharpen it.
Contacting NARS Directly
If a crayon arrived with a pre-broken or cracked tip, or if the formula seems consistently off (crumbling even from a fresh point), that is a product defect, not a technique problem.
NARS offers a virtual consultation service through their website. It is worth reaching out before assuming you are doing something wrong, especially on a newer purchase.
Sephora and other authorized retailers also accept returns on makeup products that arrive defective, usually within 30 days. Keep the receipt or order confirmation. A broken tip on a brand new crayon is not normal and should not come out of your pocket.
FAQ on How To Sharpen NARS Lip Crayon
What sharpener works best for a NARS lip crayon?
The NARS dual-blade Pencil Sharpener is the most compatible option. Third-party jumbo cosmetic sharpeners from Sephora Collection or Tweezerman also work. Avoid standard writing pencil sharpeners. The barrel size and blade angle are wrong for the waxy crayon formula.
Why does my NARS lip crayon tip keep breaking when I sharpen it?
The formula is too warm. The emollient-rich, wax-based formula softens quickly under friction. Chill the crayon in the freezer for 10 to 15 minutes before sharpening. A dull blade makes this worse by dragging instead of cutting cleanly.
Can I use a regular pencil sharpener on a NARS lip crayon?
No. Standard sharpeners are built for graphite, not soft cosmetic formulas. The blade angle tears through the waxy product rather than slicing it. Graphite residue inside a used writing sharpener will also contaminate the crayon tip color.
How do I sharpen a NARS Velvet Matte Lip Pencil without wasting product?
Freeze the crayon first, then use short quarter-turns with light pressure. Rotate the sharpener around the pencil, not the other way around. Stop as soon as you have a usable point. Over-sharpening past that wastes product fast.
Is the NARS Powermatte Lip Pencil sharpenable or retractable?
It is sharpenable, not retractable. The Powermatte uses a non-twist format, same as the original Velvet Matte. Check the base of the pencil. A flat sealed bottom means it requires a cosmetic sharpener, not a twist mechanism.
What size sharpener hole do I need for NARS lip crayons?
You need a jumbo barrel. Standard slim-barrel sharpeners will not fit the Velvet Matte or Powermatte pencils without forcing the crayon and breaking the tip. Most dual-barrel cosmetic sharpeners include a jumbo opening for exactly this purpose.
How often should I sharpen my NARS lip crayon?
Every 5 to 10 uses is a reasonable guide for daily wearers. Sharpen when the tip becomes flat or creates patchy color. If the tip still draws a clean line, leave it alone. Sharpening too often wastes expensive product unnecessarily.
How do I clean my sharpener blade before sharpening a lip crayon?
Wipe the blade with a dry cotton swab before every use. For a deeper clean, use a swab dipped in isopropyl alcohol and run it along the blade and inside the barrel. Let it dry fully before inserting the crayon.
What do I do if my NARS lip crayon tip breaks off during sharpening?
Do not keep sharpening. Re-chill the crayon and check the blade for buildup or dullness. If the tip broke unevenly, use small scissors to trim the edge flat before attempting again. Very dark shades break more easily due to higher oil content.
Can I sharpen a NARS lip crayon without a sharpener?
Yes, on a wood-cased pencil. Small scissors or a clean knife can carefully shave the casing to expose fresh product. It takes more control than a cosmetic pencil sharpener, but works in a pinch without breaking the waxy tip.
Conclusion
This conclusion is for an article presenting how to sharpen a NARS lip crayon correctly, and the takeaway is simple: the right tools and a bit of prep make all the difference.
A jumbo barrel cosmetic sharpener, a clean blade, and 10 minutes in the freezer will solve most tip breakage problems before they start.
Match the sharpener barrel to the pencil diameter. Keep the blade clean with isopropyl alcohol. Store the crayon away from heat.
When sharpening fails, a blunt tip or a lip brush technique can still give you clean, precise application without wasting product.
Good crayon maintenance is not complicated. It just takes the right approach from the start.

She started writing on the site after fielding the same questions from clients and friends often enough to just write the answers down: which red won't turn orange on a warm undertone, how to keep lipstick from feathering into fine lines, why a "12-hour" formula rarely survives dinner.
Every review on the site follows the same rule she uses with paying clients: wear it first, then decide if it's worth recommending.
- How to Choose Setting Powder for Your Skin Type - August 1, 2026
- How Long Does Eyeliner Last Before It Expires? - July 28, 2026
- What Is Contour and How Do You Apply It? - July 25, 2026


